

#3: Halloween Countdown Clock
Maker: Danny Kent
Welcome haunters! Every week we share a look behind one home haunter’s inspirational build and how it came together.
Let’s dig into this week’s build!
Danny is a Robotics Engineer and by day manages a team of robotic software developers.
His kids, especially his son, have loved Halloween from a young age. They started decorating for Halloween in 2020 and the kids loved it. They’ve gone bigger each year since.
His background has already been put to good use on a couple of small Halloween projects, and he’s working on customizing a few animatronics for this year.
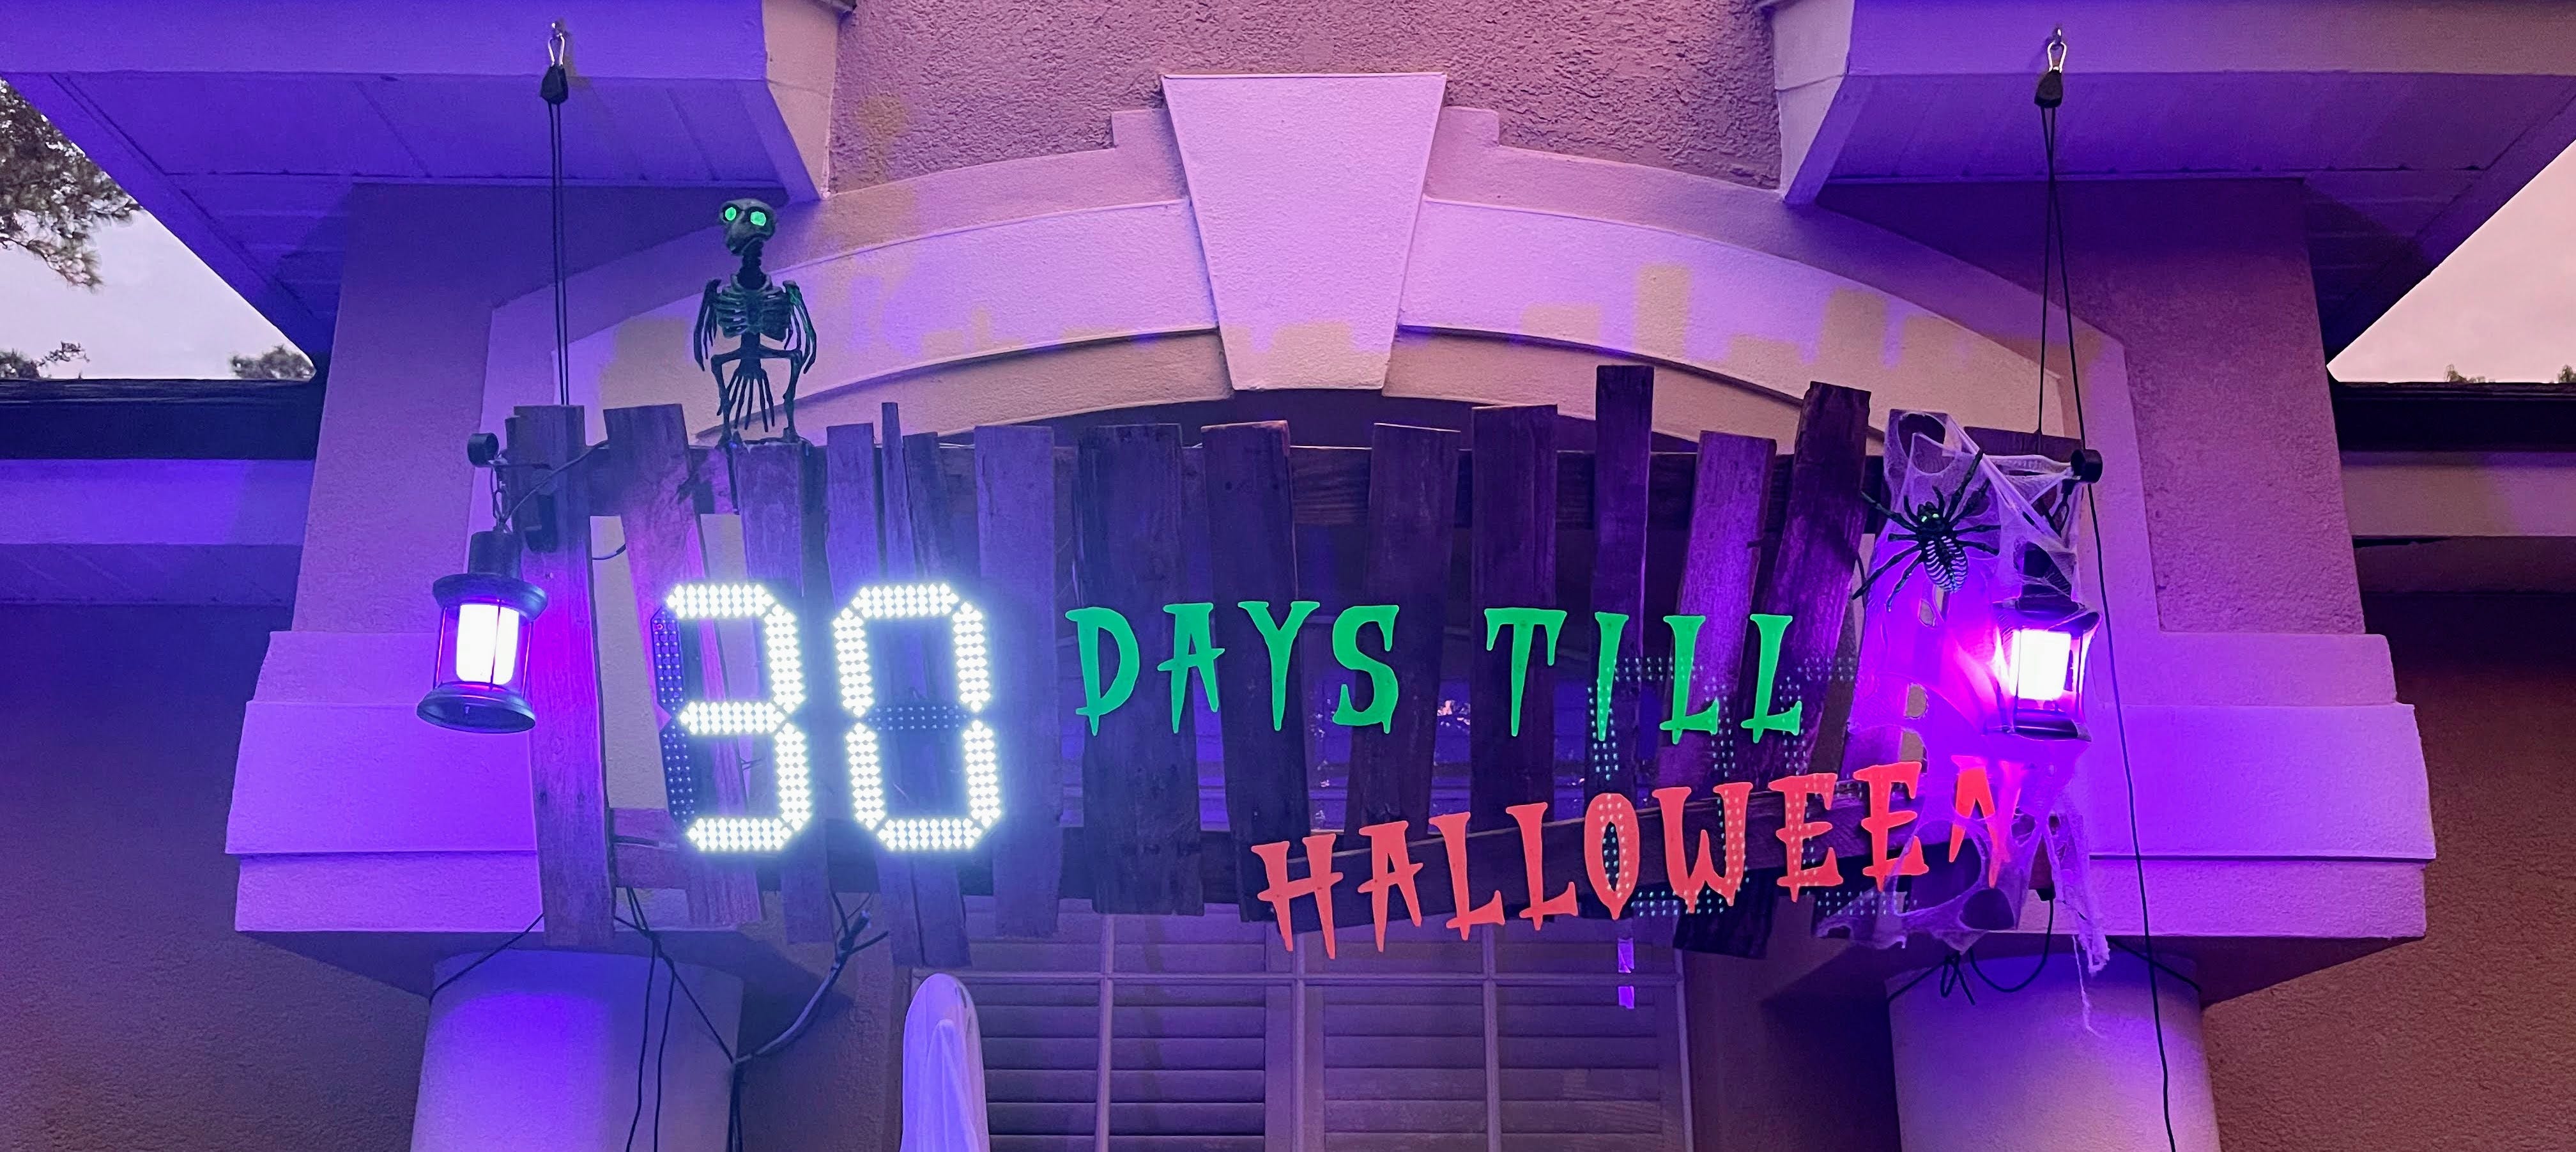
But his first major build has been a Countdown-To-Halloween Clock!
Keep reading to get all the details, including a full parts list and build schematic.
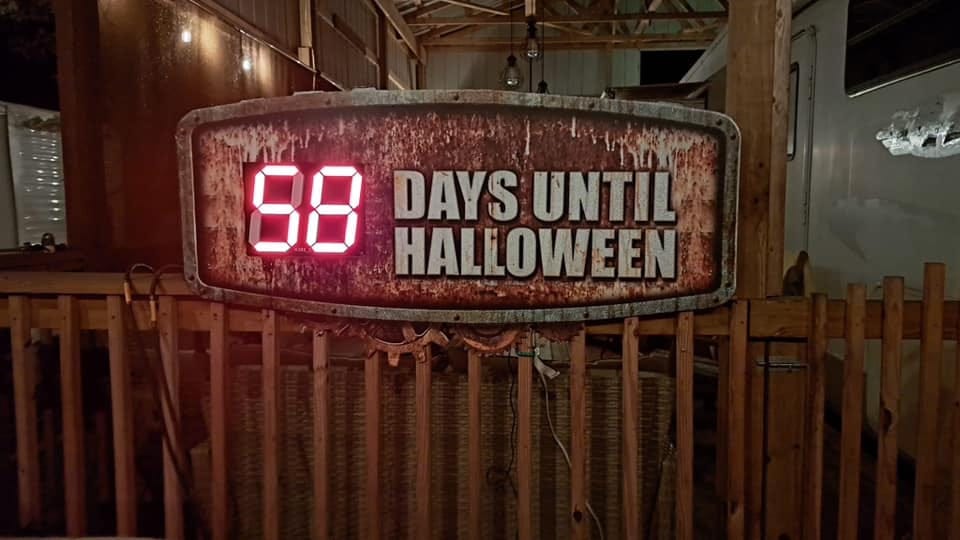
The Inspiration
Inside Danny’s Build


Build Details:
Here is a link to the full parts list with the electrical schematic and script!
Q&A
What techniques and products were used?
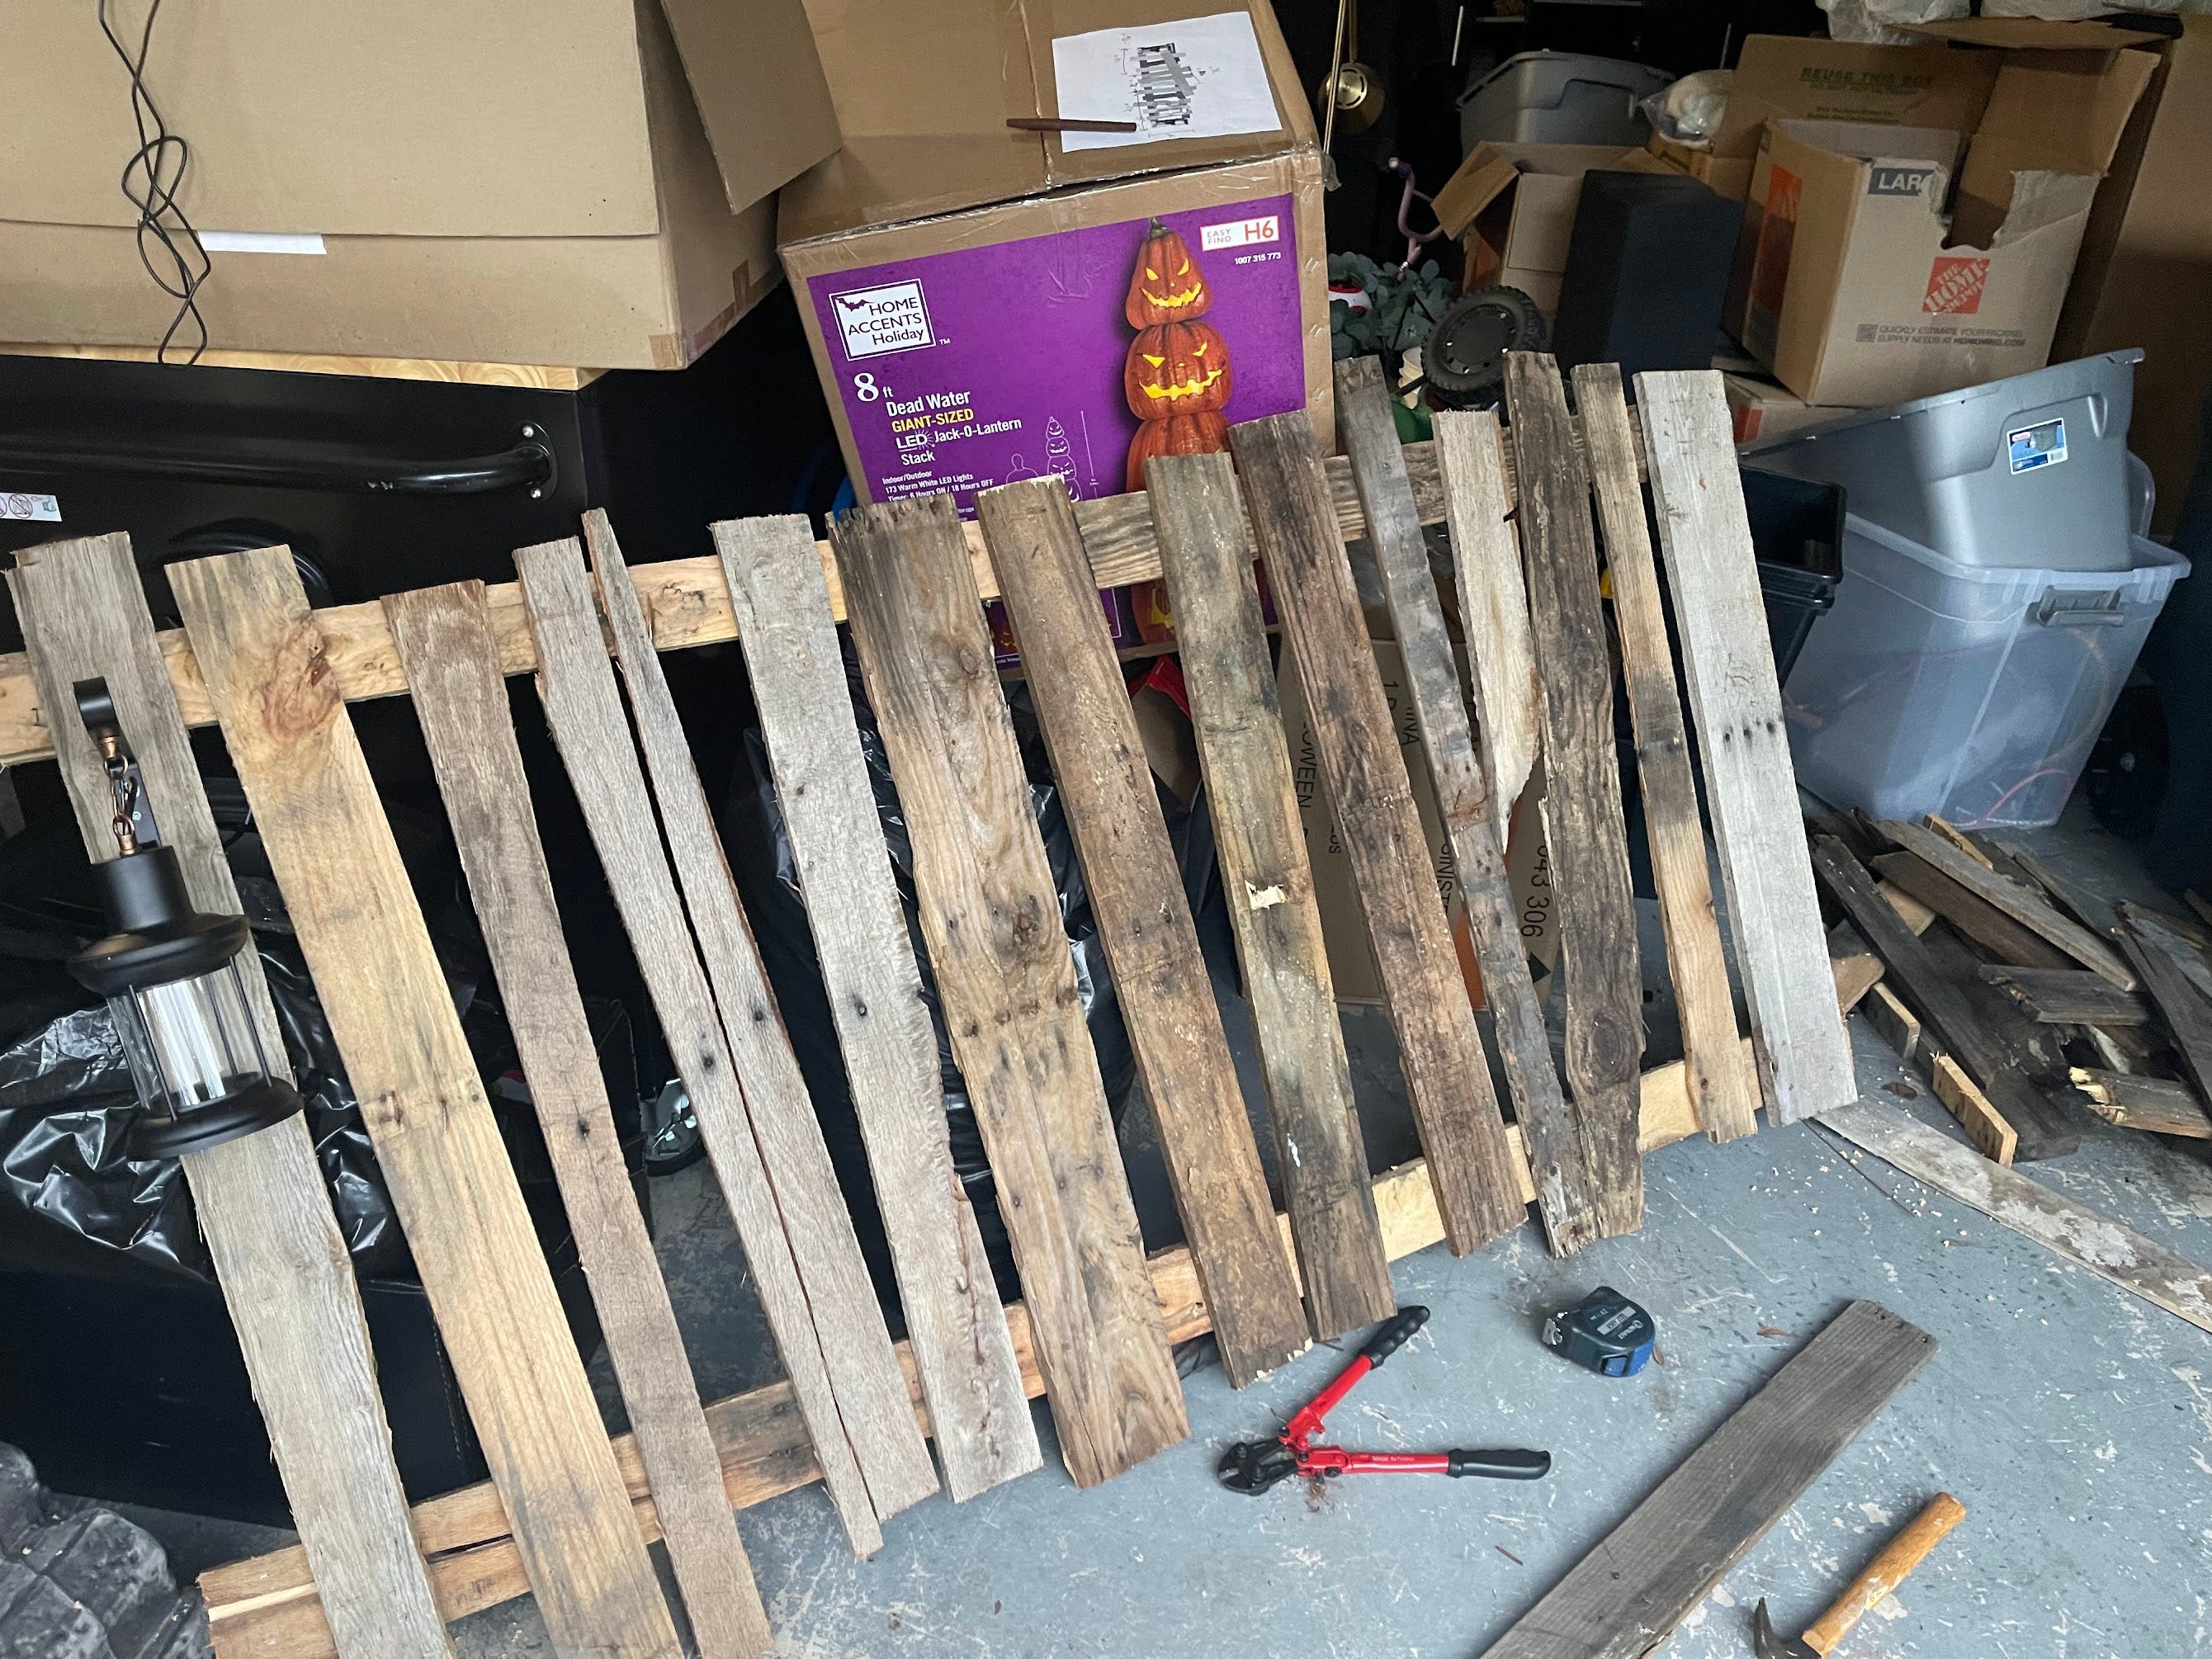
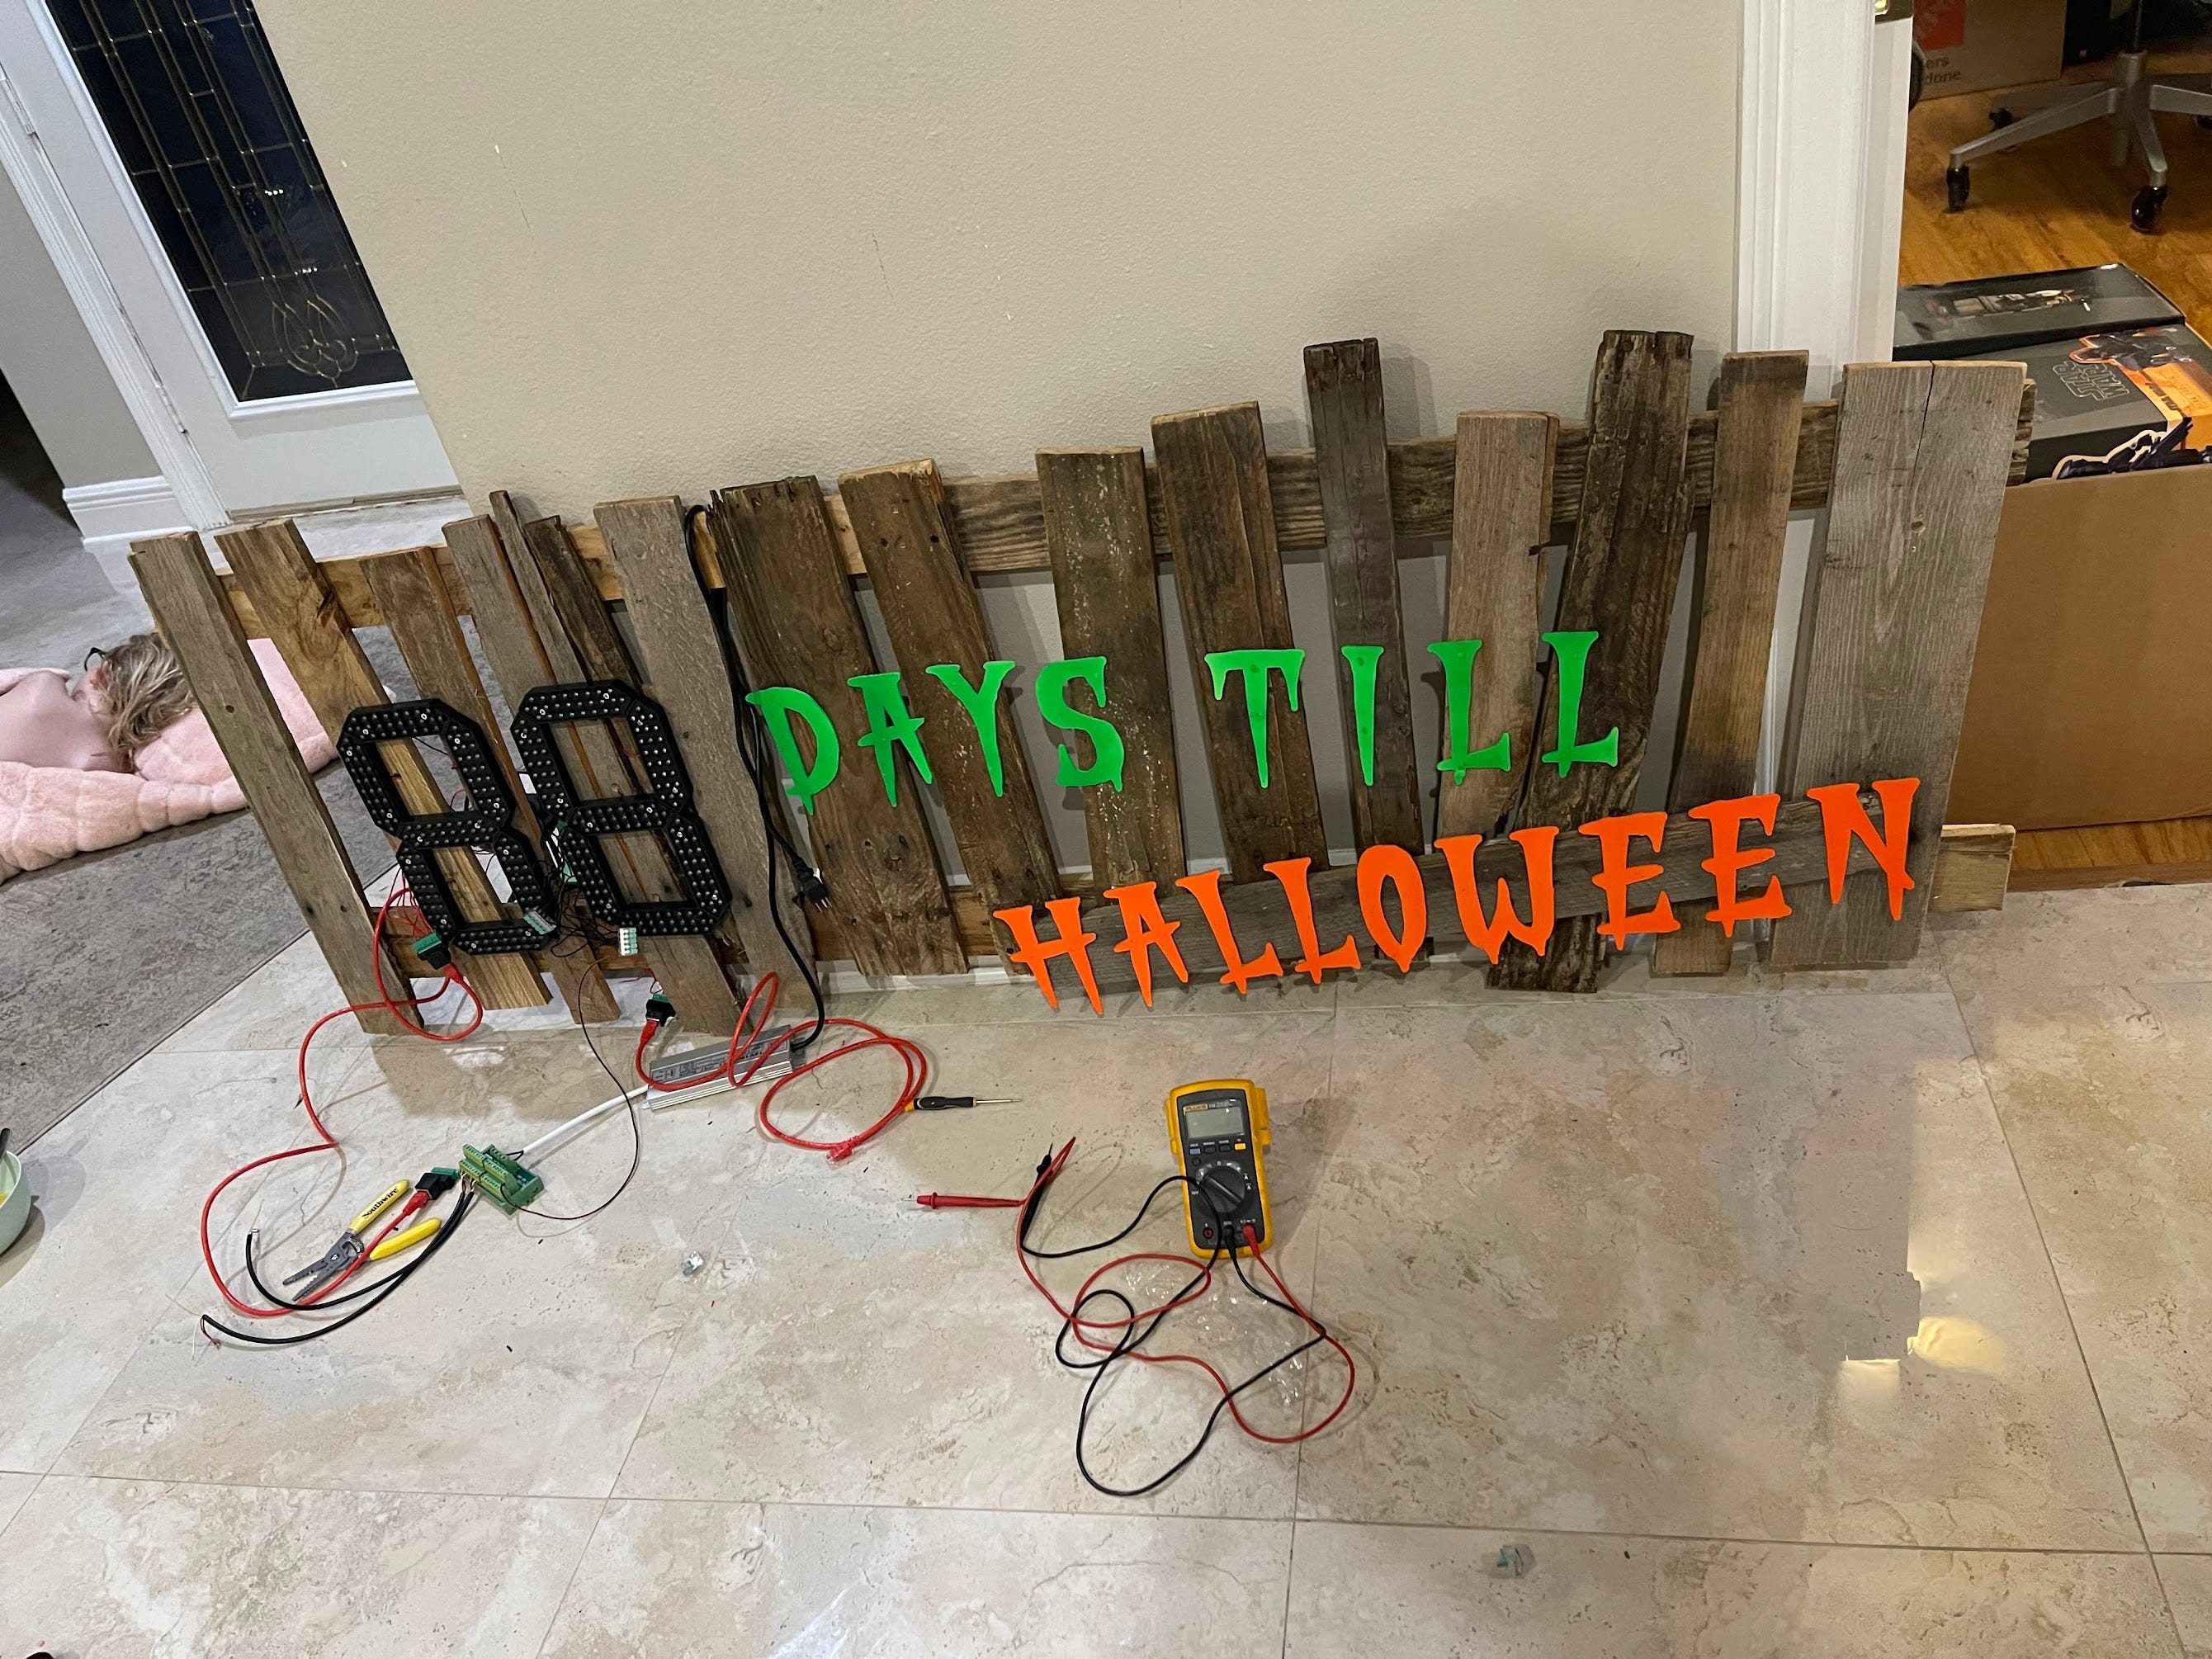
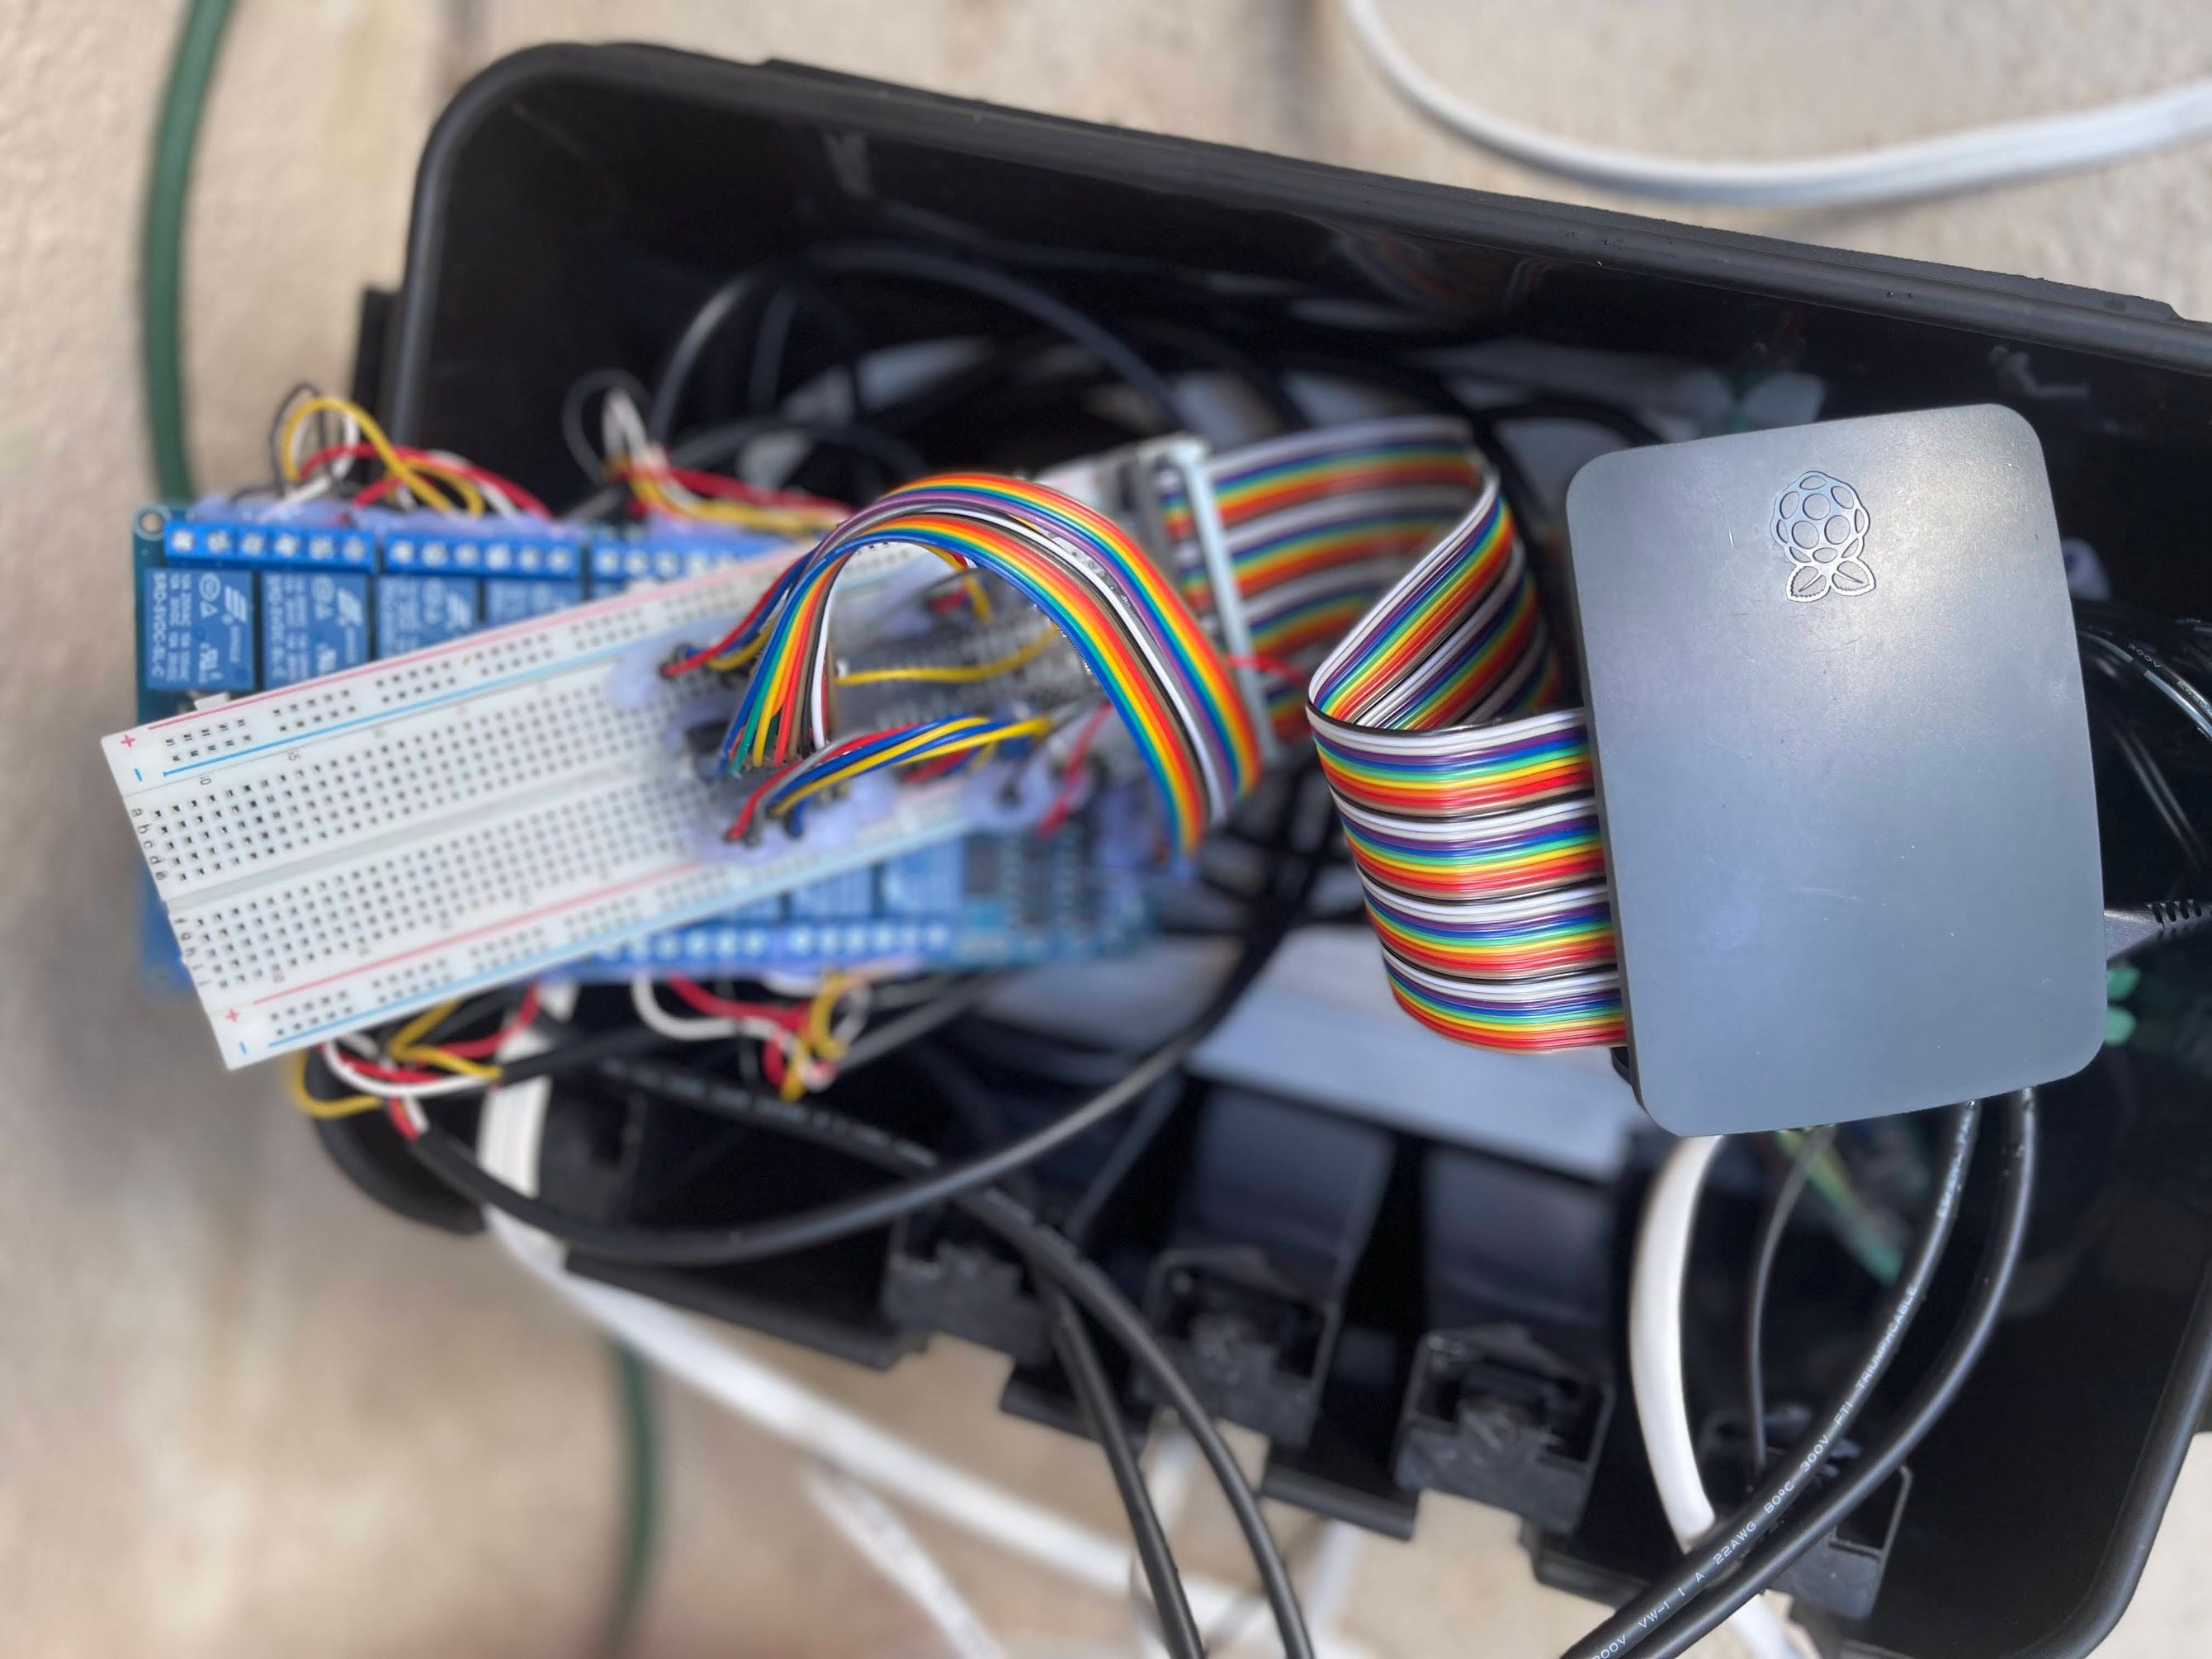
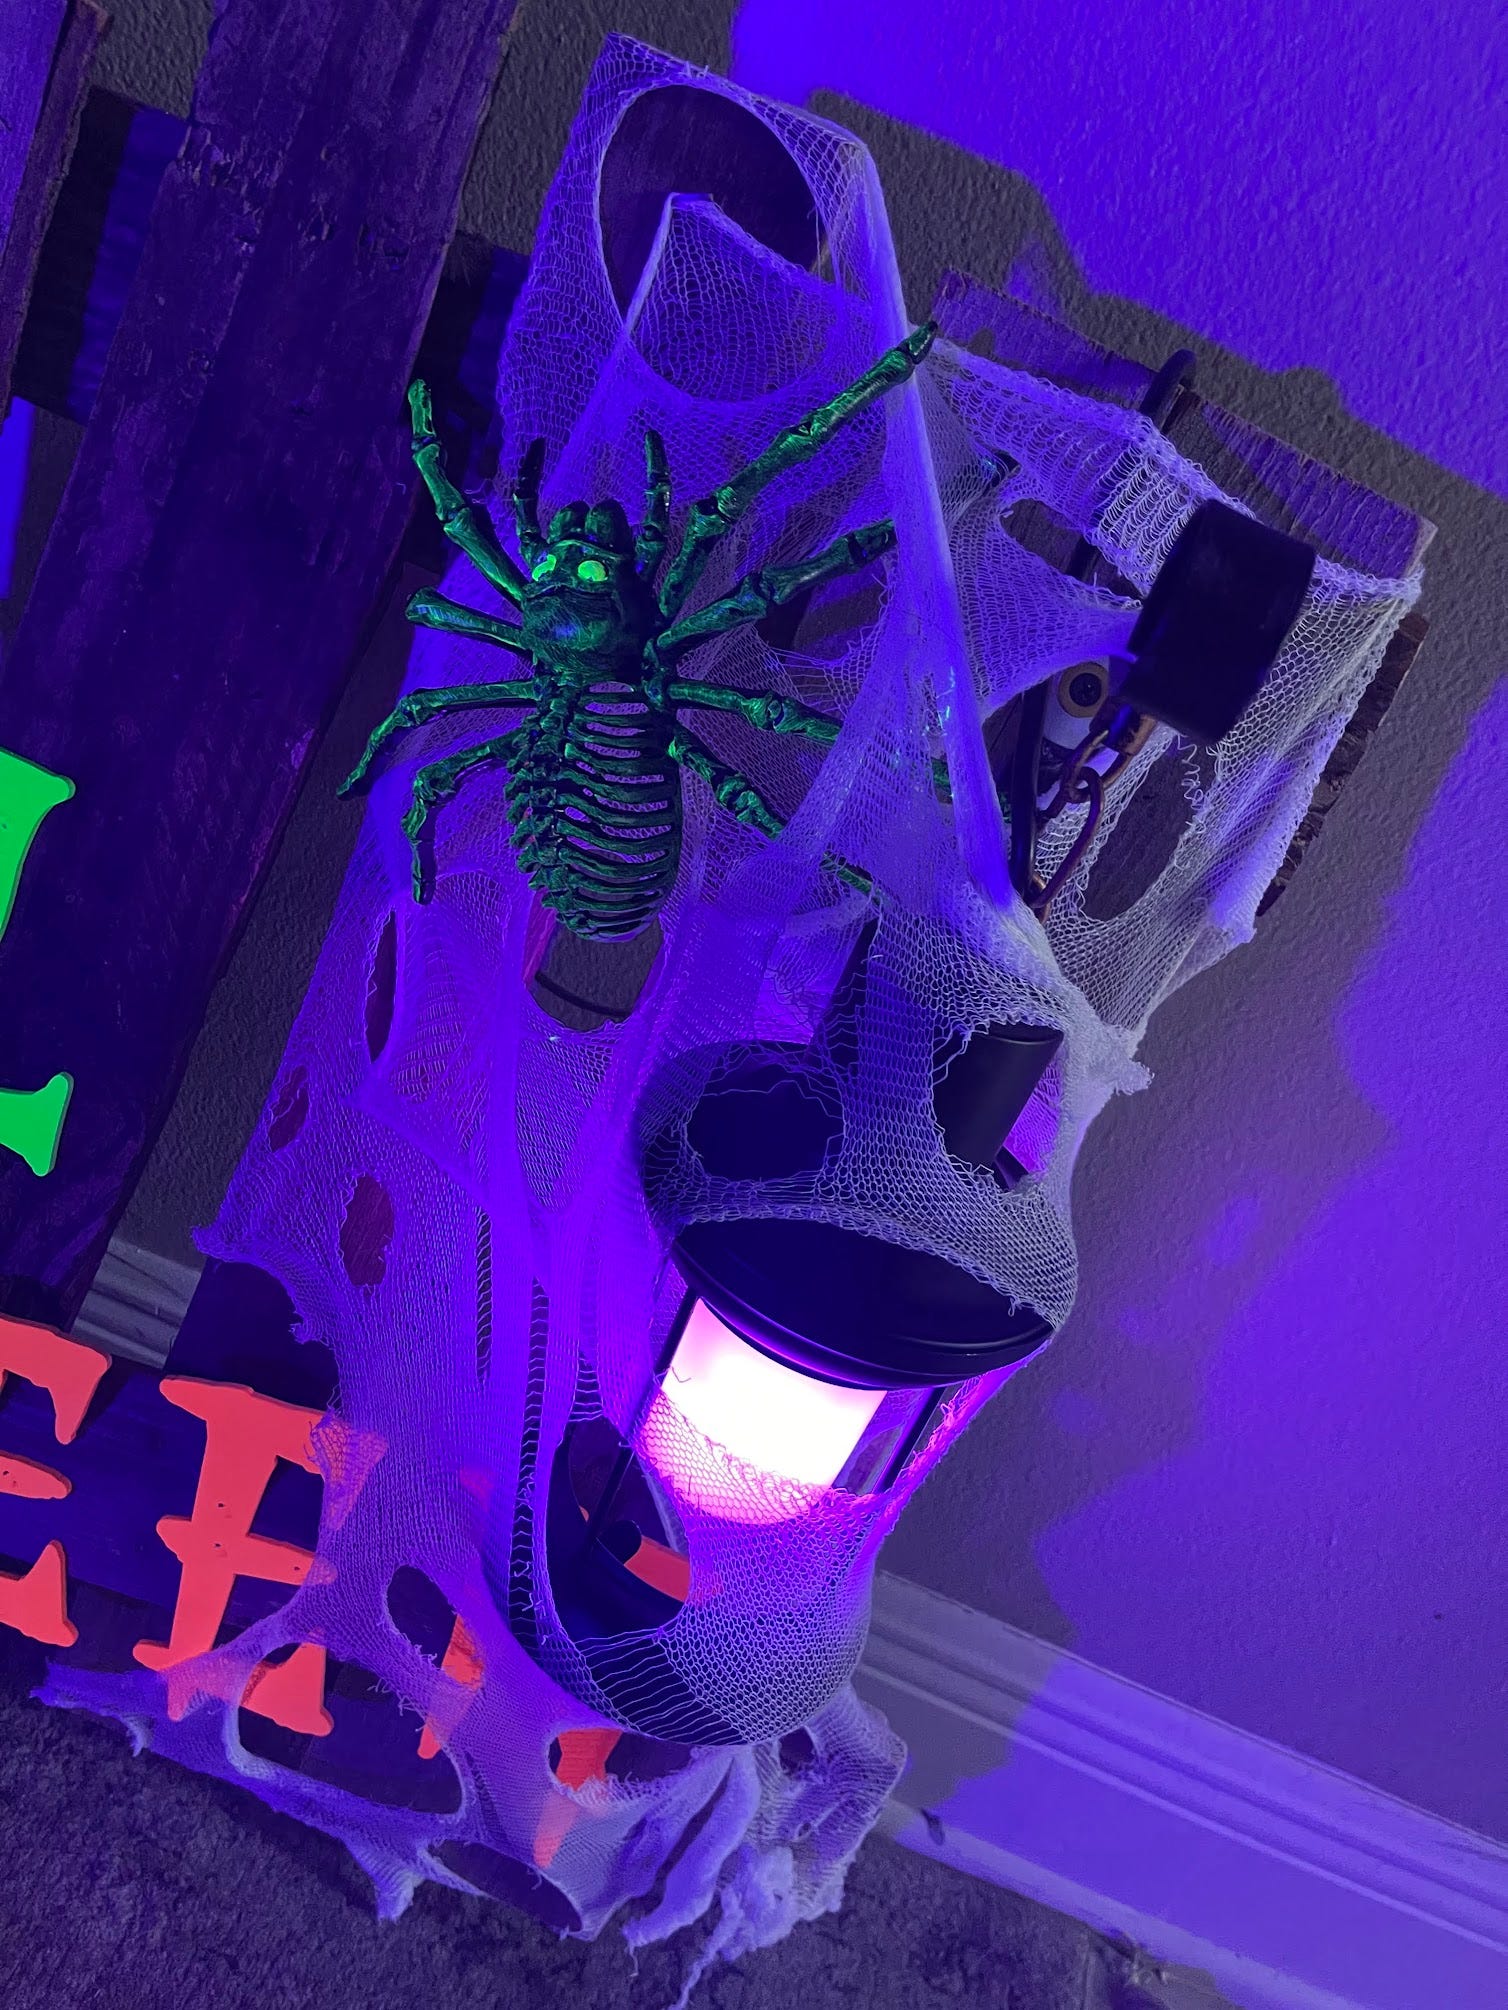
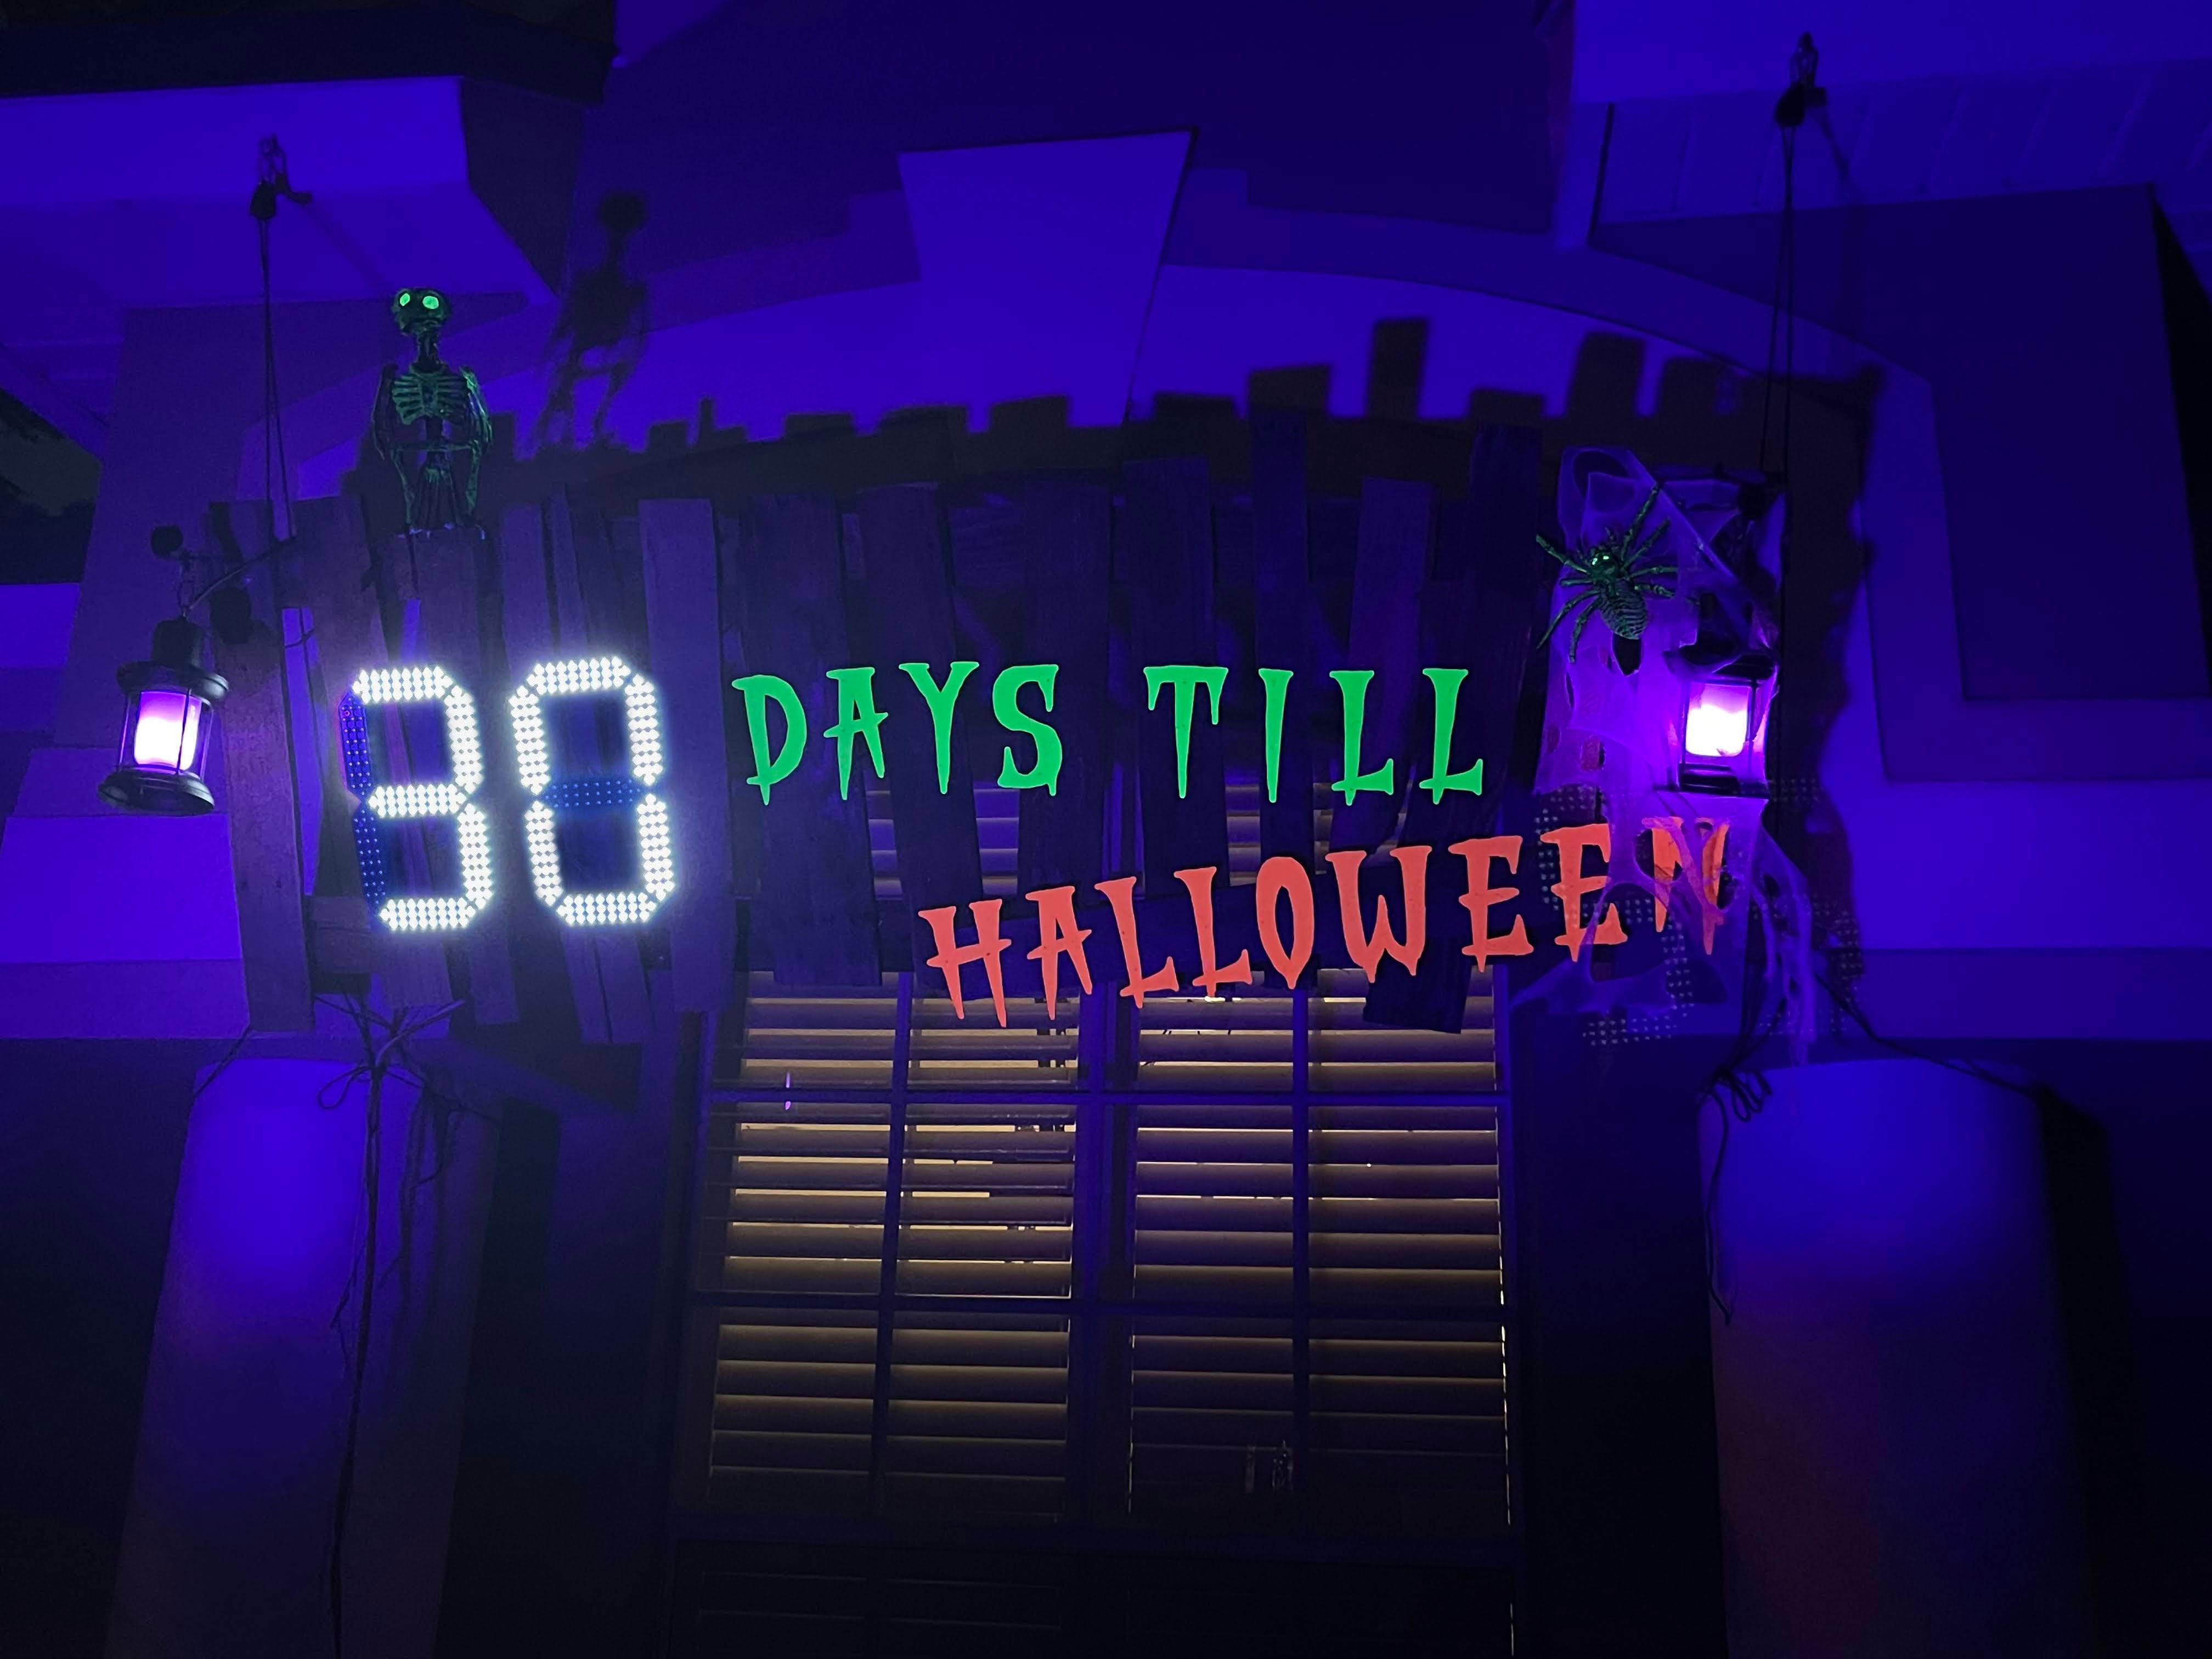
The sign is made out of old pallet wood. The fluorescent letters were laser-cut, primed, and painted. The webbing is made out of beef netting. The lanterns I bought on Amazon, but if you can find old distressed ones locally I think it would be better and cheaper. The numbers are seven segment numbers that are controlled by a Raspberry Pi and some simple software.
What was the trickiest part of the build? How’d you solve it?
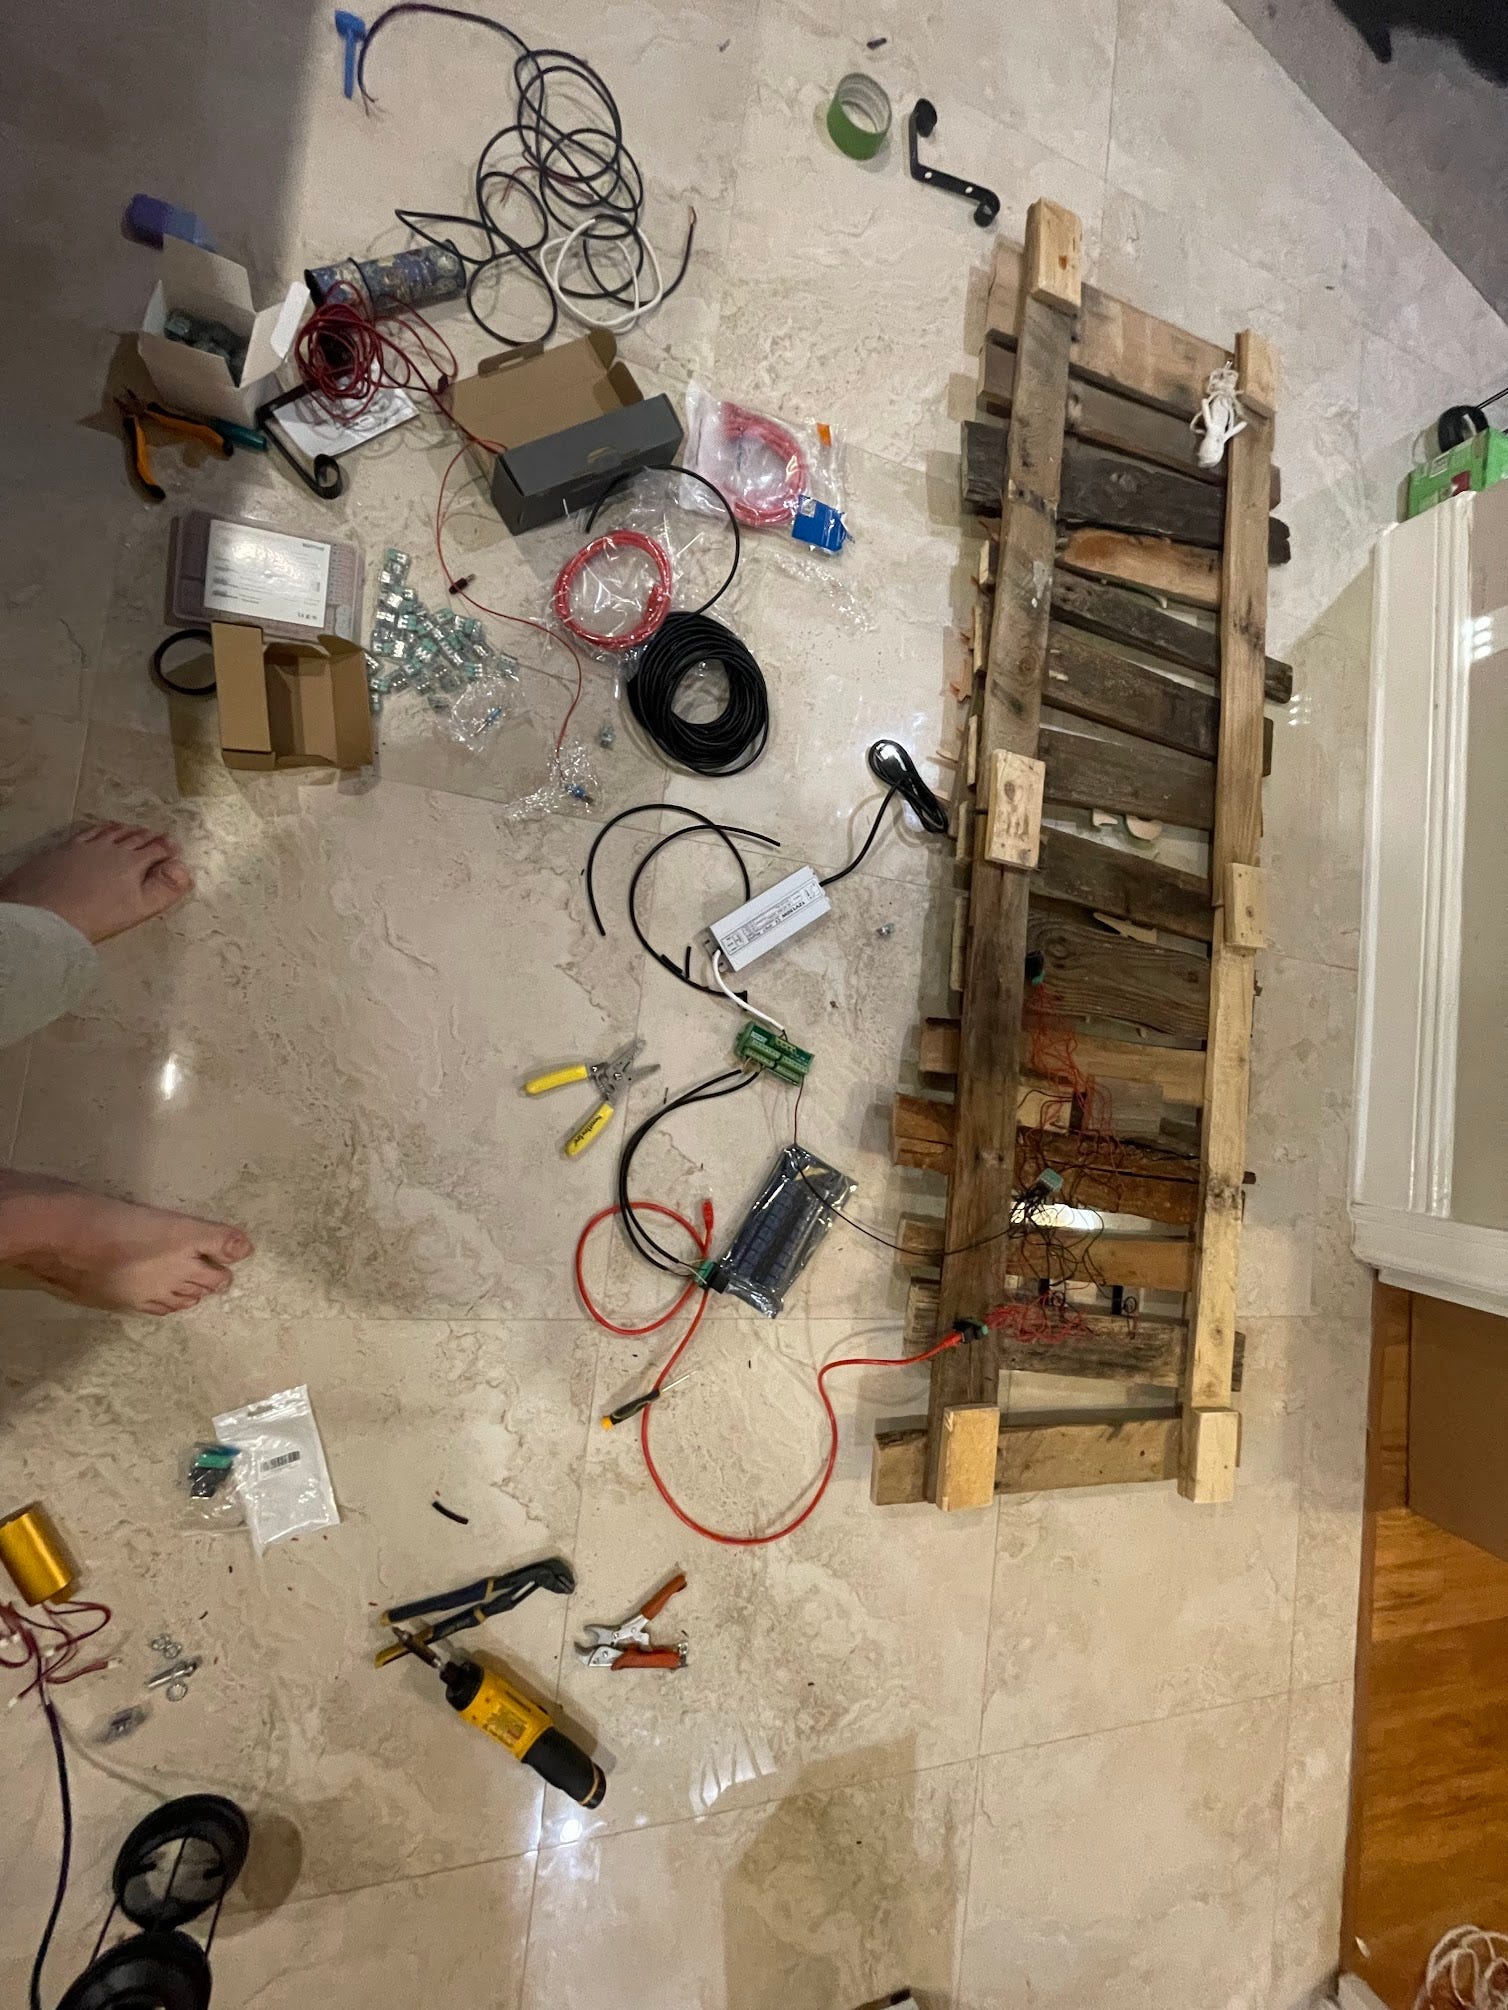
The trickiest part was an electrical issue. The vendor sent me two different kinds of LED modules (common anode vs. common cathode) which required a little creative wiring.
What would you do differently?
A few things:
When I read the datasheet on the LEDs I mis-interpreted the data. The total wattage of two digits is probably less than 20W. A much smaller power supply could be used. Also, a waterproof one isn't required, I bought it because I didn't know if I was going to have to mount it outside the box.
I would probably use red or green LEDs instead of white. These also put out less brightness which was a major issue without the dimmer in the circuit
Relays are overkill for the needs of this project. This could easily have been done with some MOSFETs. I took this approach because I didn't want to solder anything or have to run a bunch of small signal wires. The other options would be cheaper and smaller.
The vendor on Aliexpress that sells the digits also sells a "control board". There's no documentation on how it works, but it may be possible to use it instead of relays and less wiring.
Did other ideas pop up while using the techniques to build this?
I'm thinking about using a similar approach and some sensors to create an automated triggering system through try-me buttons so I can coordinate/trigger all my animatronics better.
What sites, people, etc. helped as you tackled this?
Shout out to my coworker Dave who helped answer some electrical questions and pick parts.
Where do you go for general inspiration?
Mostly watch what other people are doing and posting on FB. I usually have more ideas than I can handle in a year!
SHOW US YOURS!
If you’ve built something or know someone we should include in a future release, email us at hey@hauntmakers.xyz.
Anyway you know a way to build this with a couple P10 panels instead of the segment letters?