Welcome haunters! Every week we share a look behind one home haunter’s inspirational build and how it came together.
Let’s dig into this week’s build!
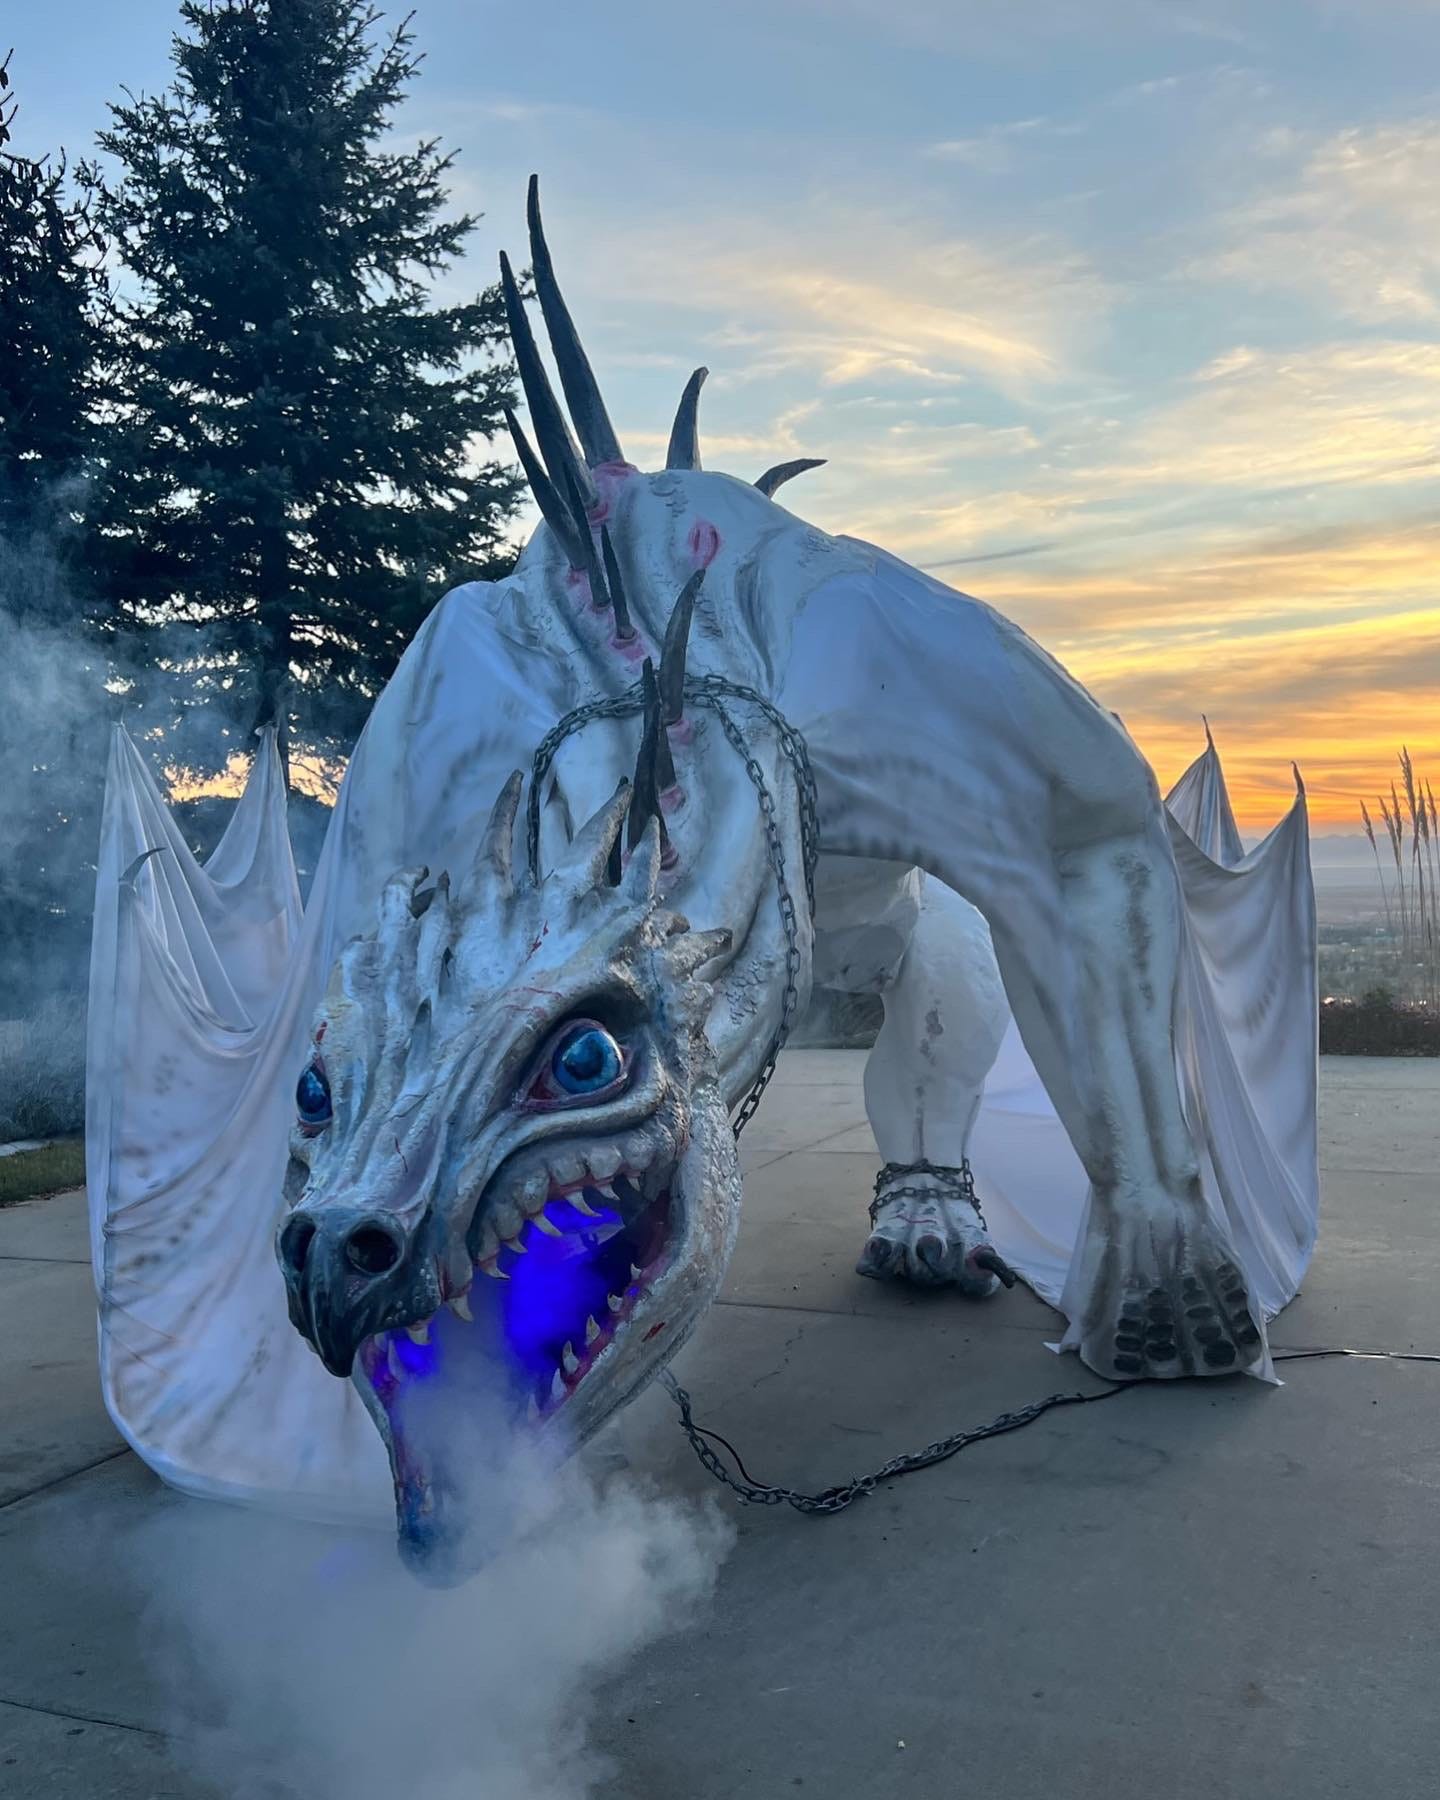
After seeing that, you wouldn’t be surprised to learn Avery is a commissions artist who specializes in styrofoam sculpting life-sized creatures. However, you might be surprised to learn that she’s only 18 and just started a few years ago at the age of 14!
She first began in 2020 and found her love for this kind of work by building creatures from Harry Potter movies for a Halloween display. Her first build was a Thestral which she says was a way to distract herself from the pandemic. However, she quickly fell in love with bringing these magical creatures to life, and with the help of her family and community, their little Halloween display has grown into an incredible event!
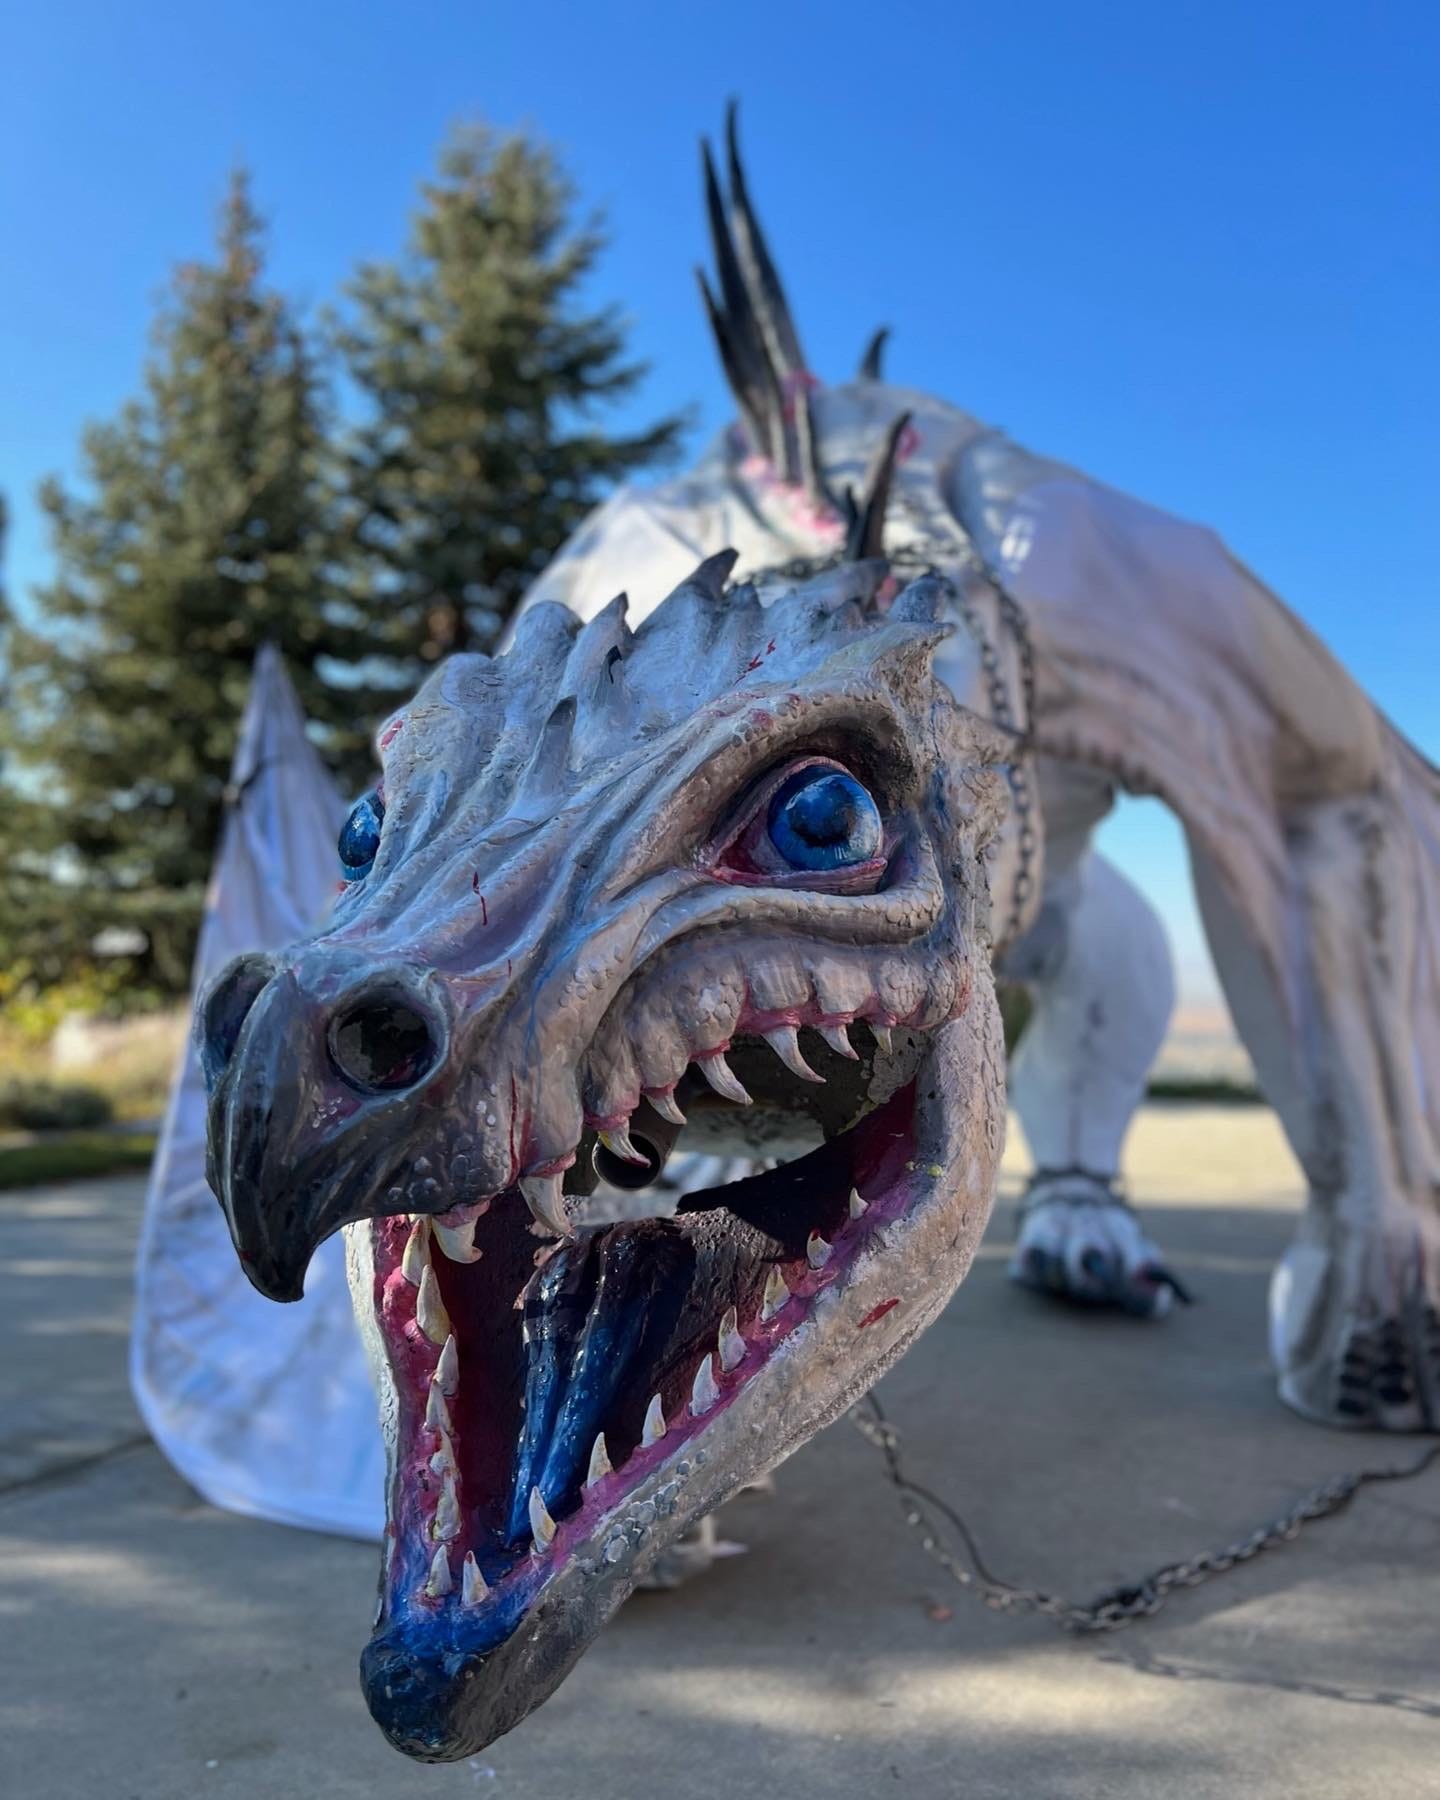
Fast forward to last year and now she’s created a life-sized, smoke-breathing, Ukrainian Ironbelly Dragon stating it’s the piece she’s the most proud of.
Keep reading for details. You can follow her on Instagram or TikTok to see other builds and details about this haunt!
Inside Avery’s Build
Build Details:
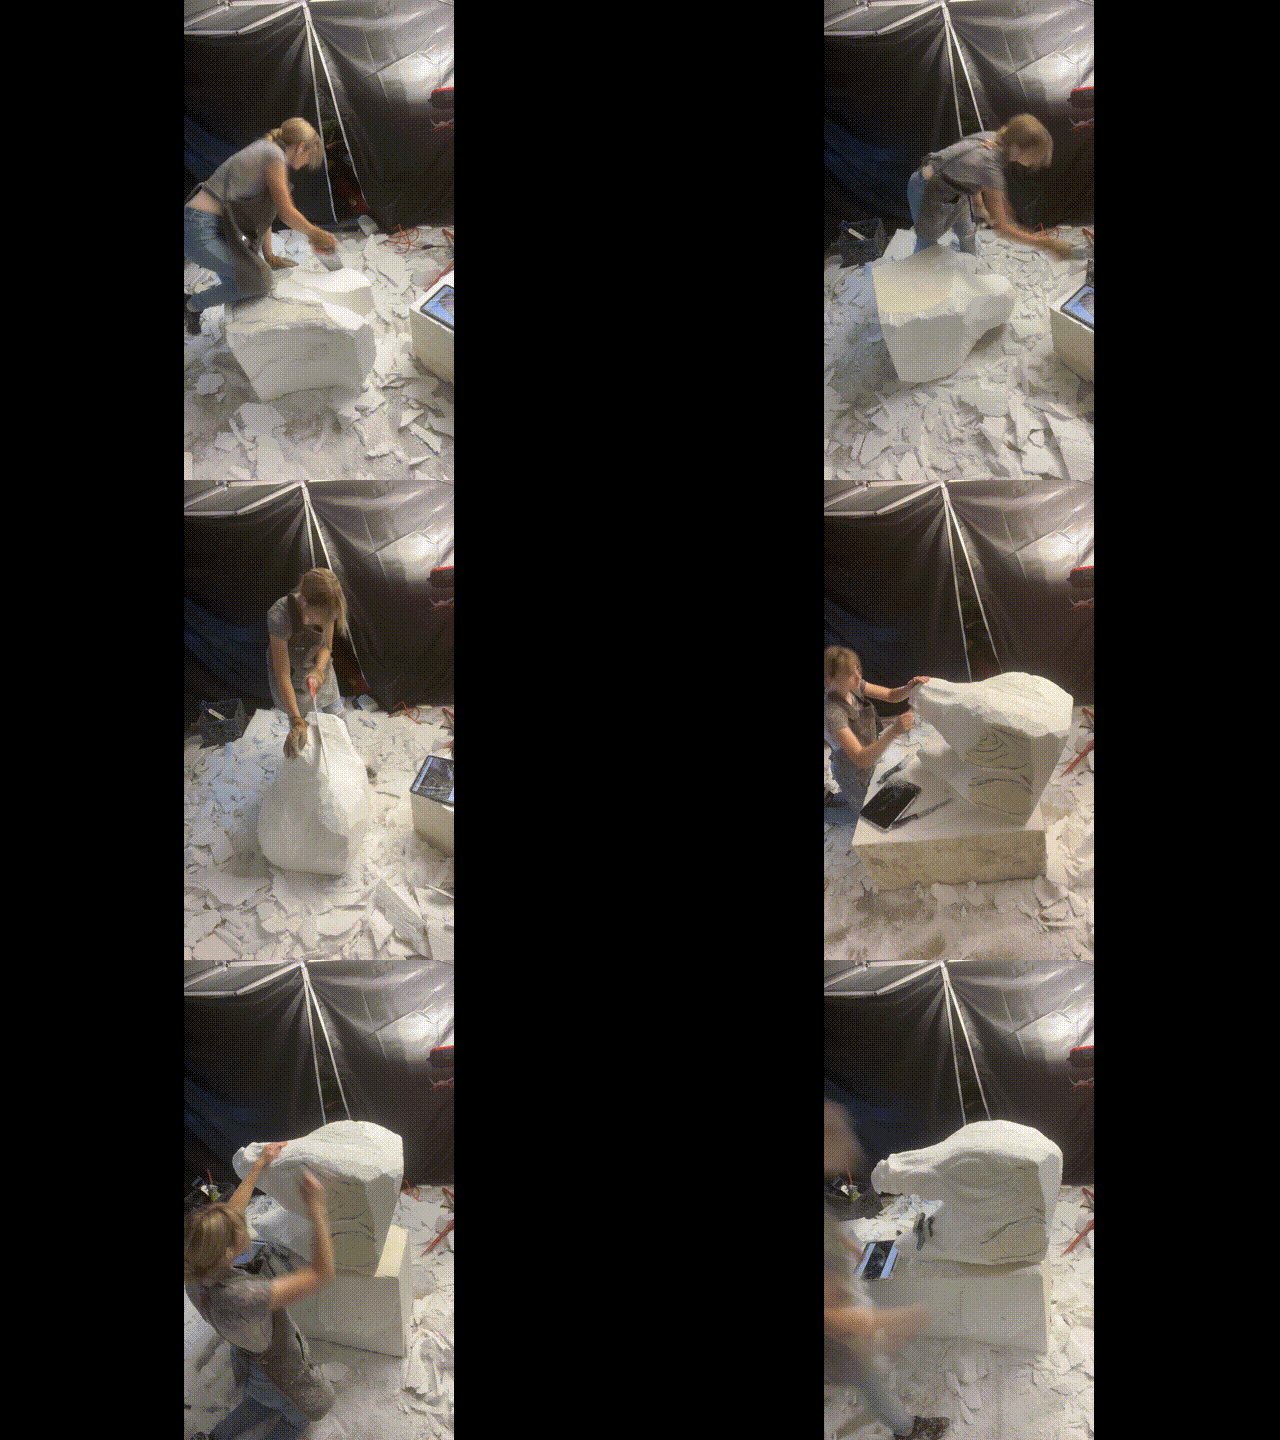
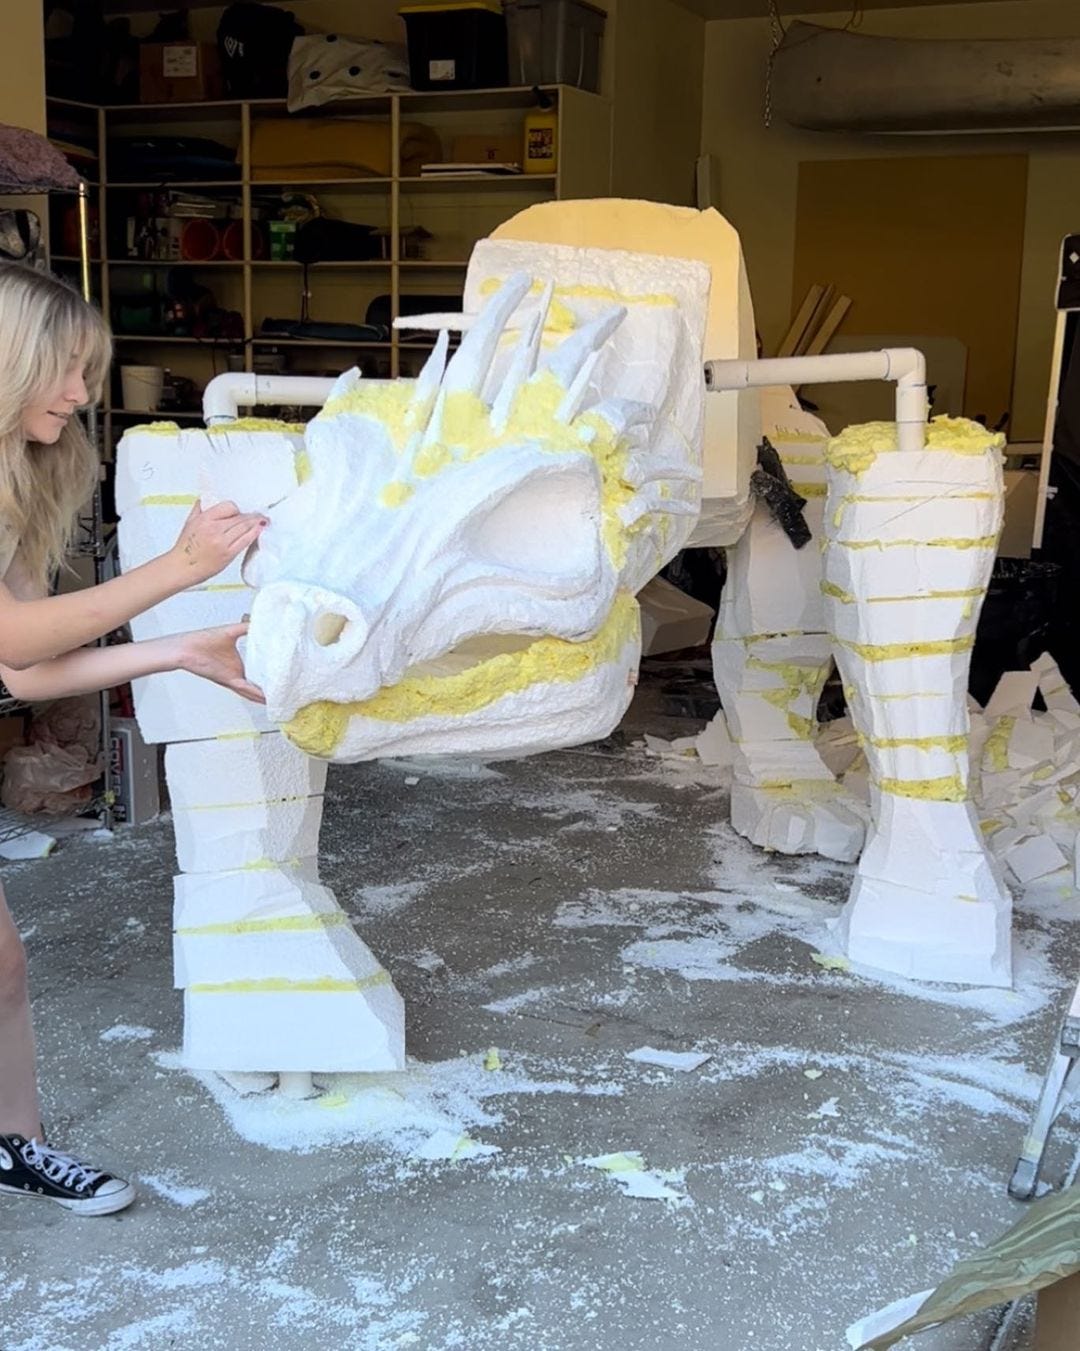
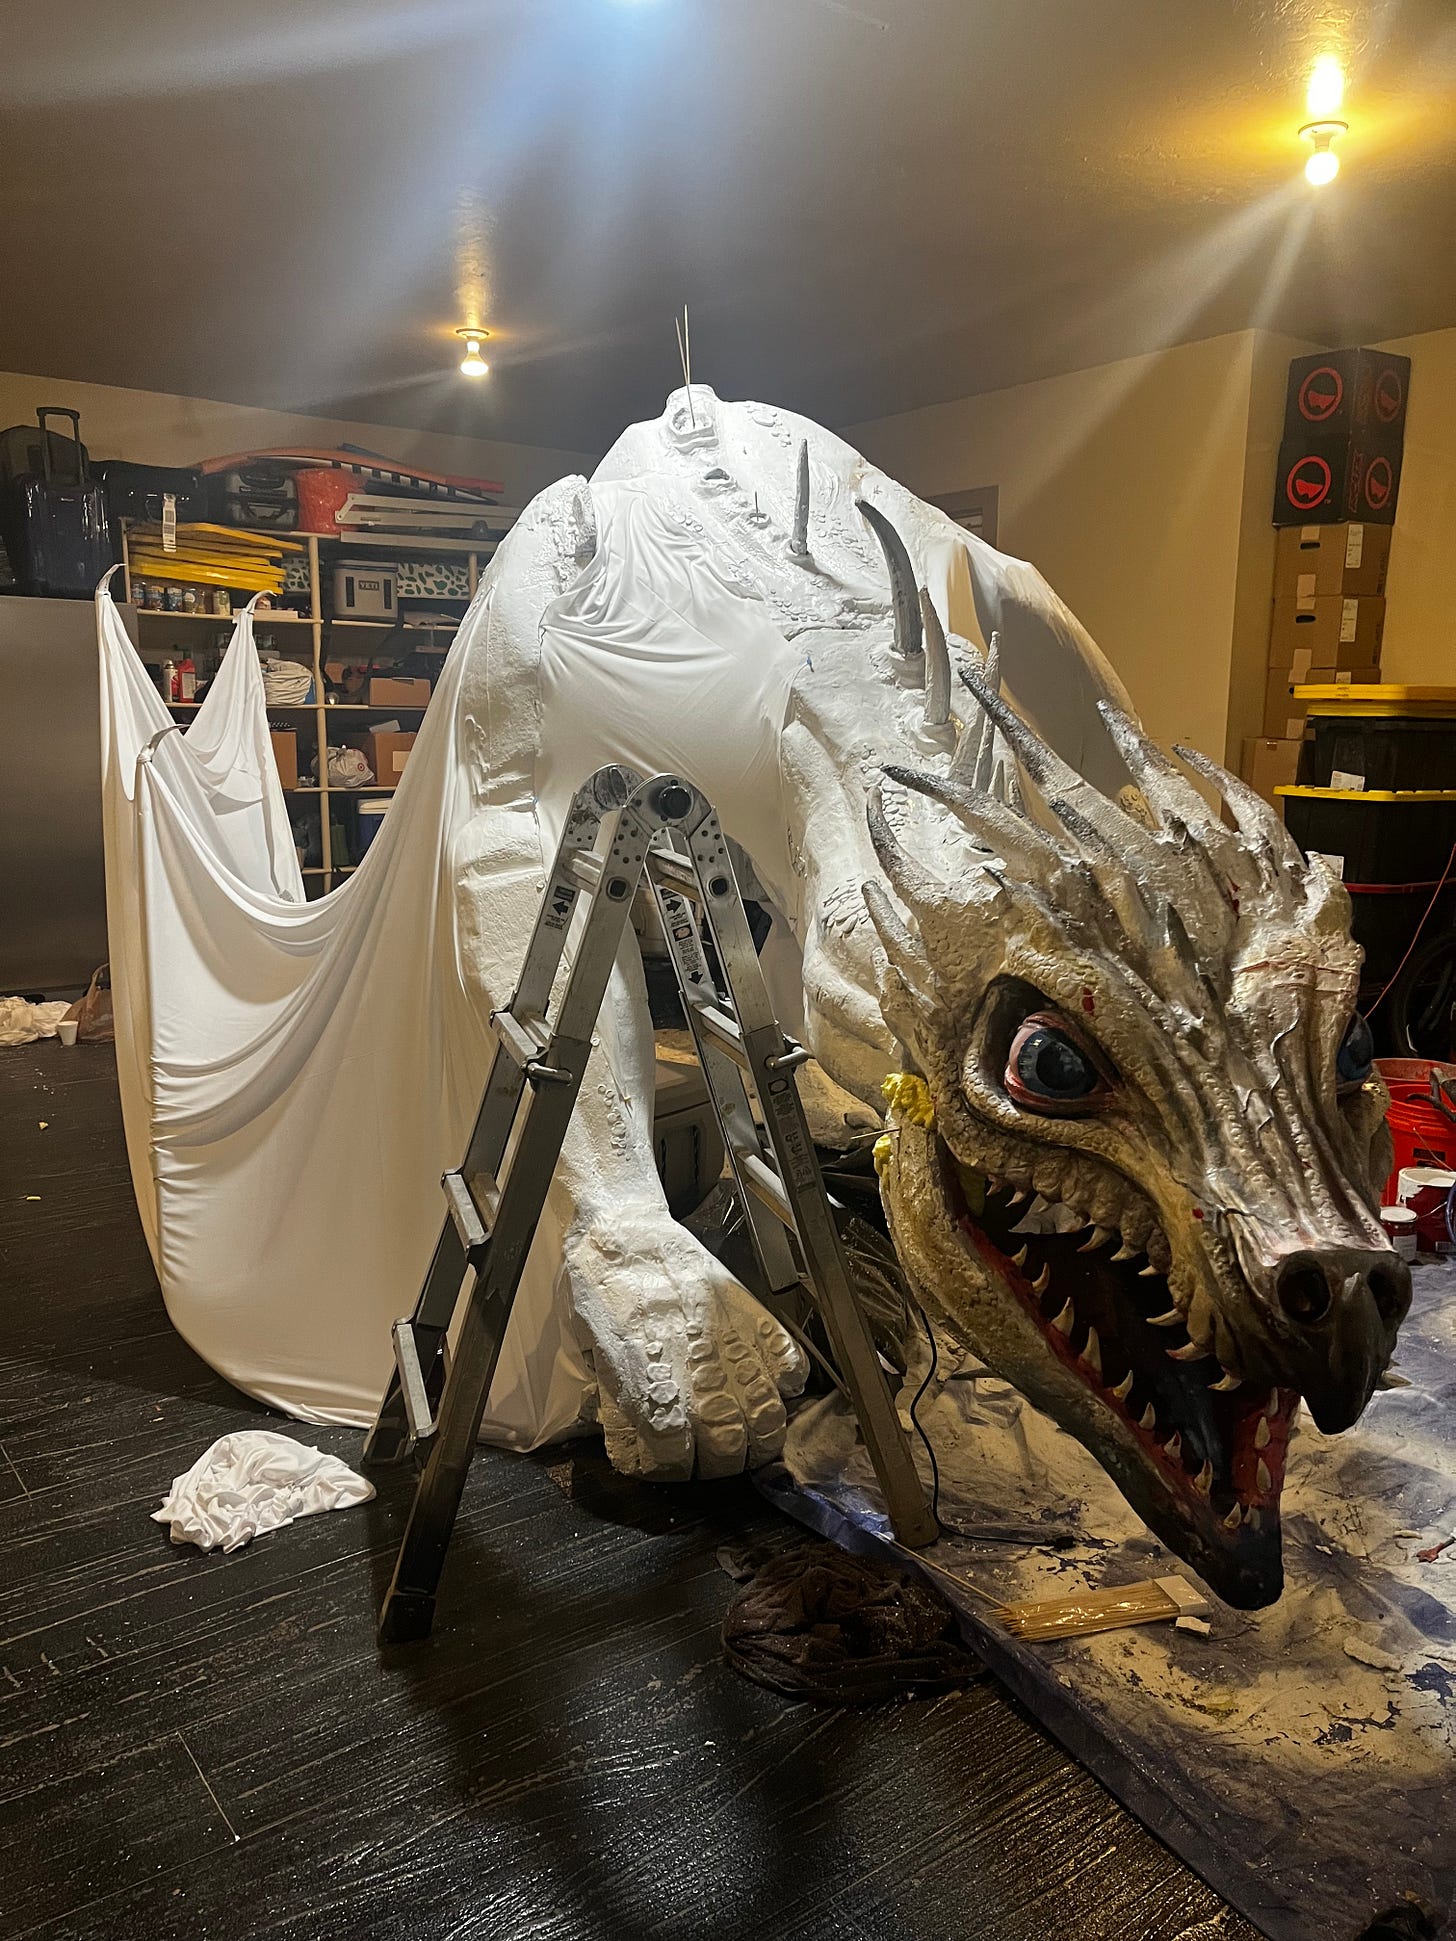
4 x 4 x 8 ft. Styrofoam blocks - sourced from a local roofing company
Great Stuff spray foam - for sealing gaps and attaching styrofoam pieces
Dowels and skewers - to hold things in place while sculpting
PVC pipe - for building the underlying structure
Styrofoam Sculpting tools - electric chainsaw, hand saws, sculpting knife, wire brushes, sandpaper, Dremel tool
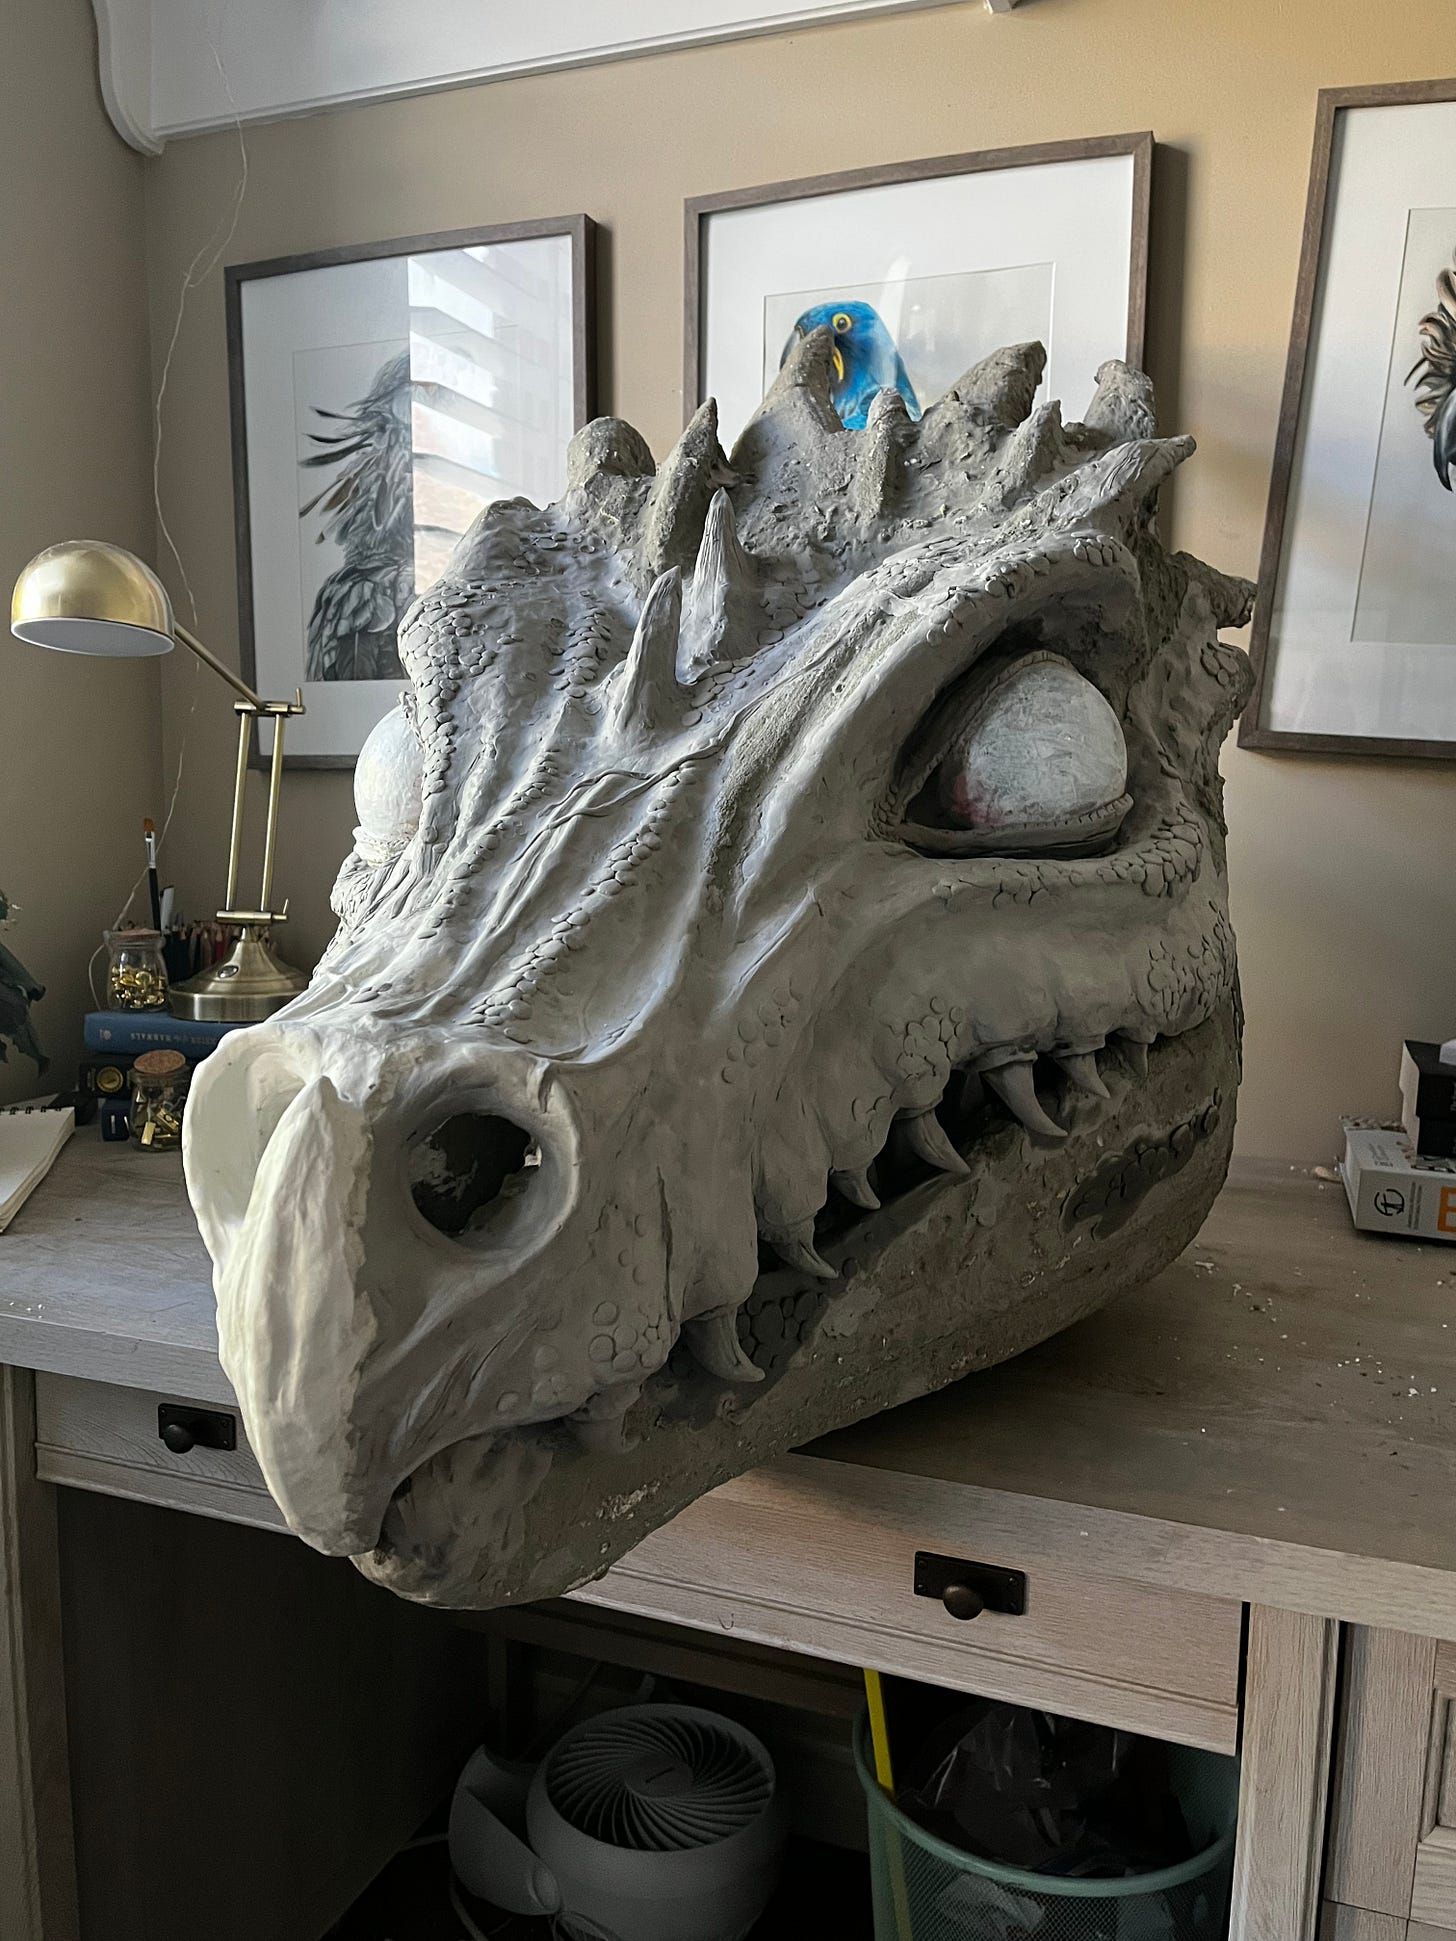
Flexbond Quickrete - for sealing and protecting styrofoam
Air drying sculpting clay - to add smaller details on top of the plaster seal.
Exterior paint
Airbrush
Fog machine
Lightweight semitransparent fabric - for wing membrane
Spray adhesive - to attach the fabric of wings to the body
Plastic chains - extra detail to cover gaps in the styrofoam pieces.
Q&A
What inspired the build?
I was inspired to build this for my incessant love of dragons, and my desire to challenge myself. Each year of our Halloween display I’ve felt driven to go bigger and better, and because I was graduating high school that very year, I knew that I may not be able to build more creatures for the Halloween display. So I decided to build the biggest thing I could think of!
What techniques and products were used?
Styrofoam sculpture, detailed clay sculpture, airbrushing and hand-brushing paint.
What was the trickiest part of the build? How’d you solve it?
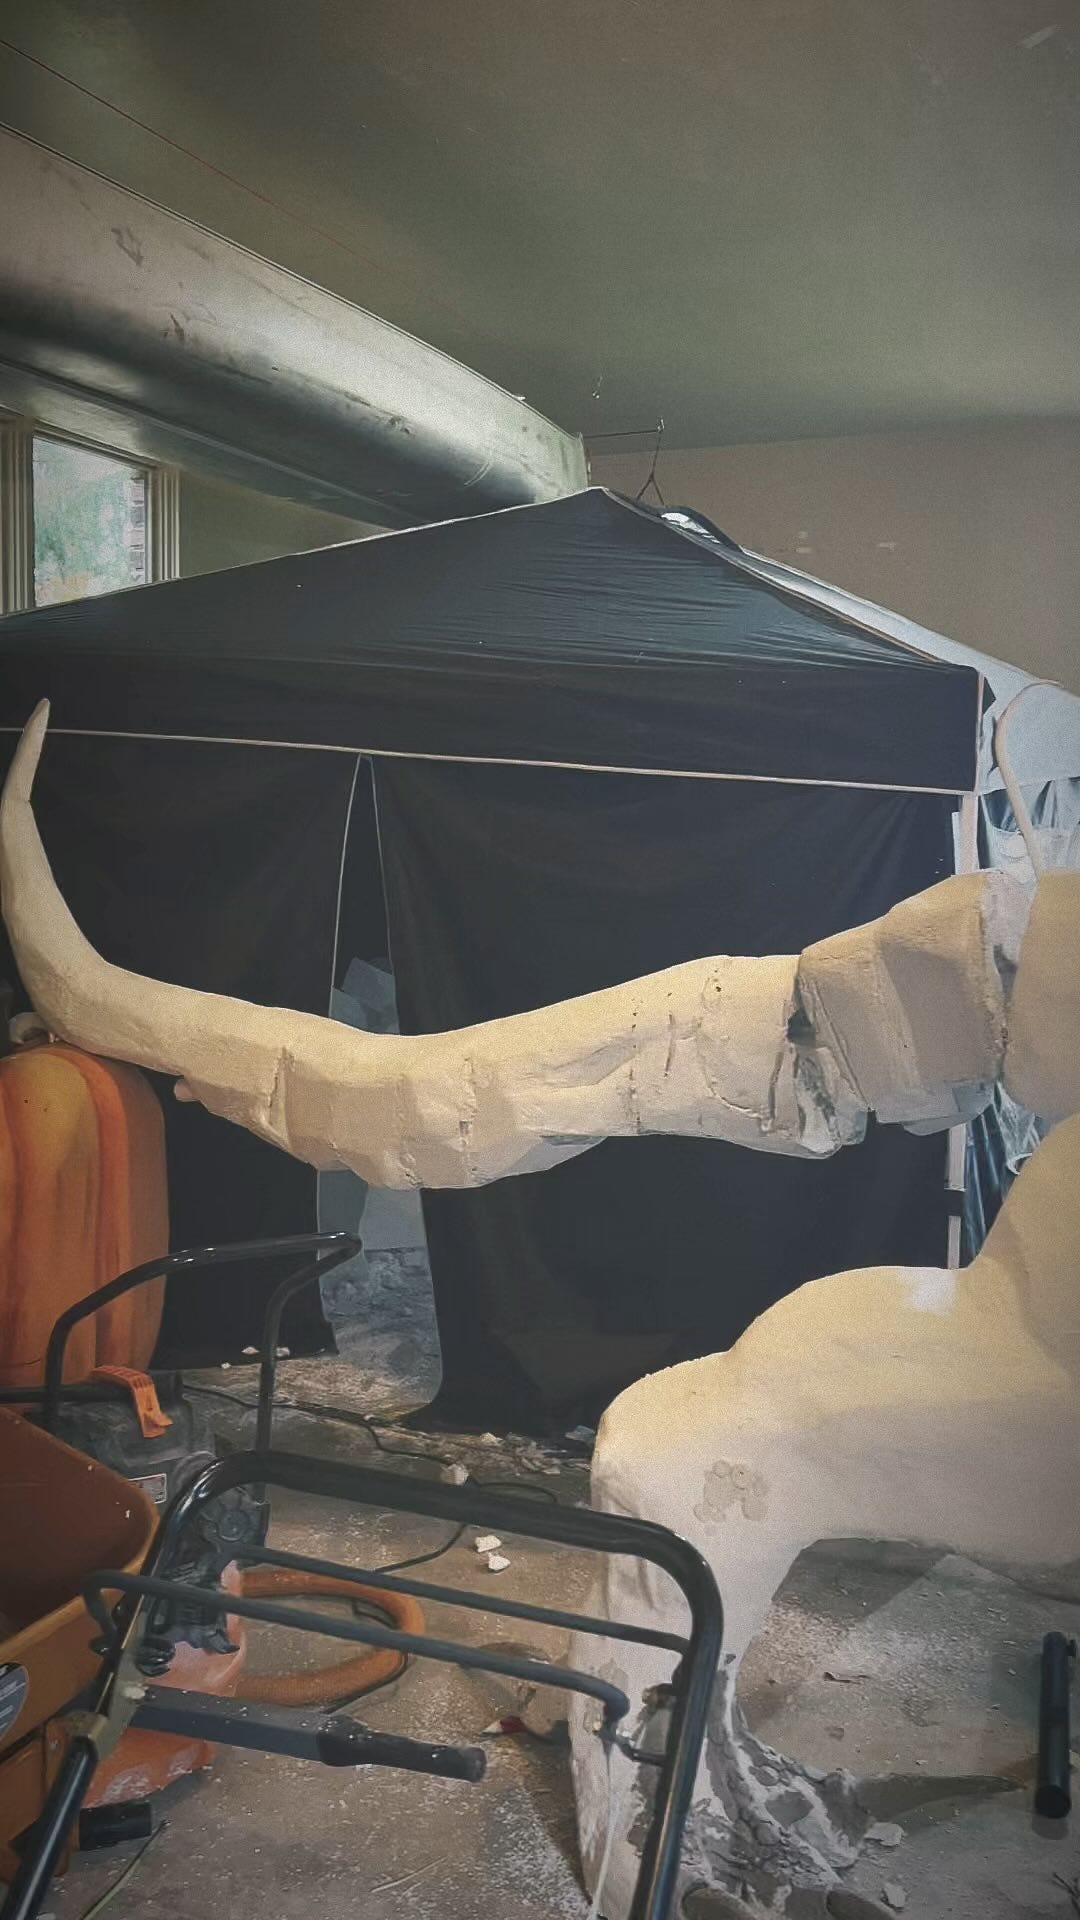
The trickiest part of building this dragon was getting it to stand! The dragon is in a dynamic pose, which can be quite difficult to balance and structure properly. Also, all the pieces of the dragon had to be small enough to fit through a doorway (so that we could store it) which added a whole other layer of trickiness to the build. I solved this problem by experimenting with different types of structures and building the dragon piece by piece, like a big, scaly puzzle.
What would you do differently?
Believe it or not, this dragon was extremely rushed. I began building it the last few weeks of August, so in total I spent about 2 and 1/2 months on it. You may think this is plenty of time, but I was also balancing school and commission work. Because of this, the back half of the dragon is a bit roughly sculpted, and the paint job is slightly rushed.
I started painting the dragon the night before its first showing and worked through the night to finish in the morning. So if I could do it differently, I would give myself more time. Honestly, it’s a bit of a miracle that the dragon was completed on time at all.
Any other ideas pop up while using the techniques to build this?
This may not count, but in the early stages of designing this build, I wanted it to be an animatronic. I spent about two months trying to teach myself to code. I was able to build moving and blinking dragon eyes but at the cost of my sanity. I did end up scrapping this idea because I seemed to have misjudged the difficulty of teaching myself the field of mechanical engineering in just a few months. ( Who knew it would be so hard?) Despite this, I would like to try to work with animatronics again in the future.
What sites, people, etc. helped as you tackled this?
While building this I enrolled online at the Stan Winston School of practical effects, which has hundreds of professional tutorials for sculpting, molding, animatronics, and so much more. (These guys built the dinosaurs for the Jurassic Park movies) This site would be super helpful for anyone serious about their Halloween props!
Where do you go for general inspiration?
Every other year or so I visit a Disney or Universal Studios theme park. Seeing the skilled, detail-oriented work of artists bringing magic to life is the most inspirational thing of all to me.
SHOW US YOURS!
Thanks for reading about this week’s build! If you’ve built something or know someone we should include in a future release, email us at hey@hauntmakers.xyz.







Thanks for the feature!! The article turned out really good 😊